Building Your E-Commerce Website – A Step-by-Step Process
Step 1: Go to the Bluehost Website Builder page, select your server location, and purchase the ‘Ecommerce’ plan Step 2: You will be redirected to the domain registering page. You can register a new domain or enter an existing unused domain name for your website and make the payment for purchasing the Website Builder plan Note: The domain name is free for a period of one year with all web hosting packages. Also, you need not purchase web hosting additionally as WordPress Hosting is automatically installed with your Website Builder.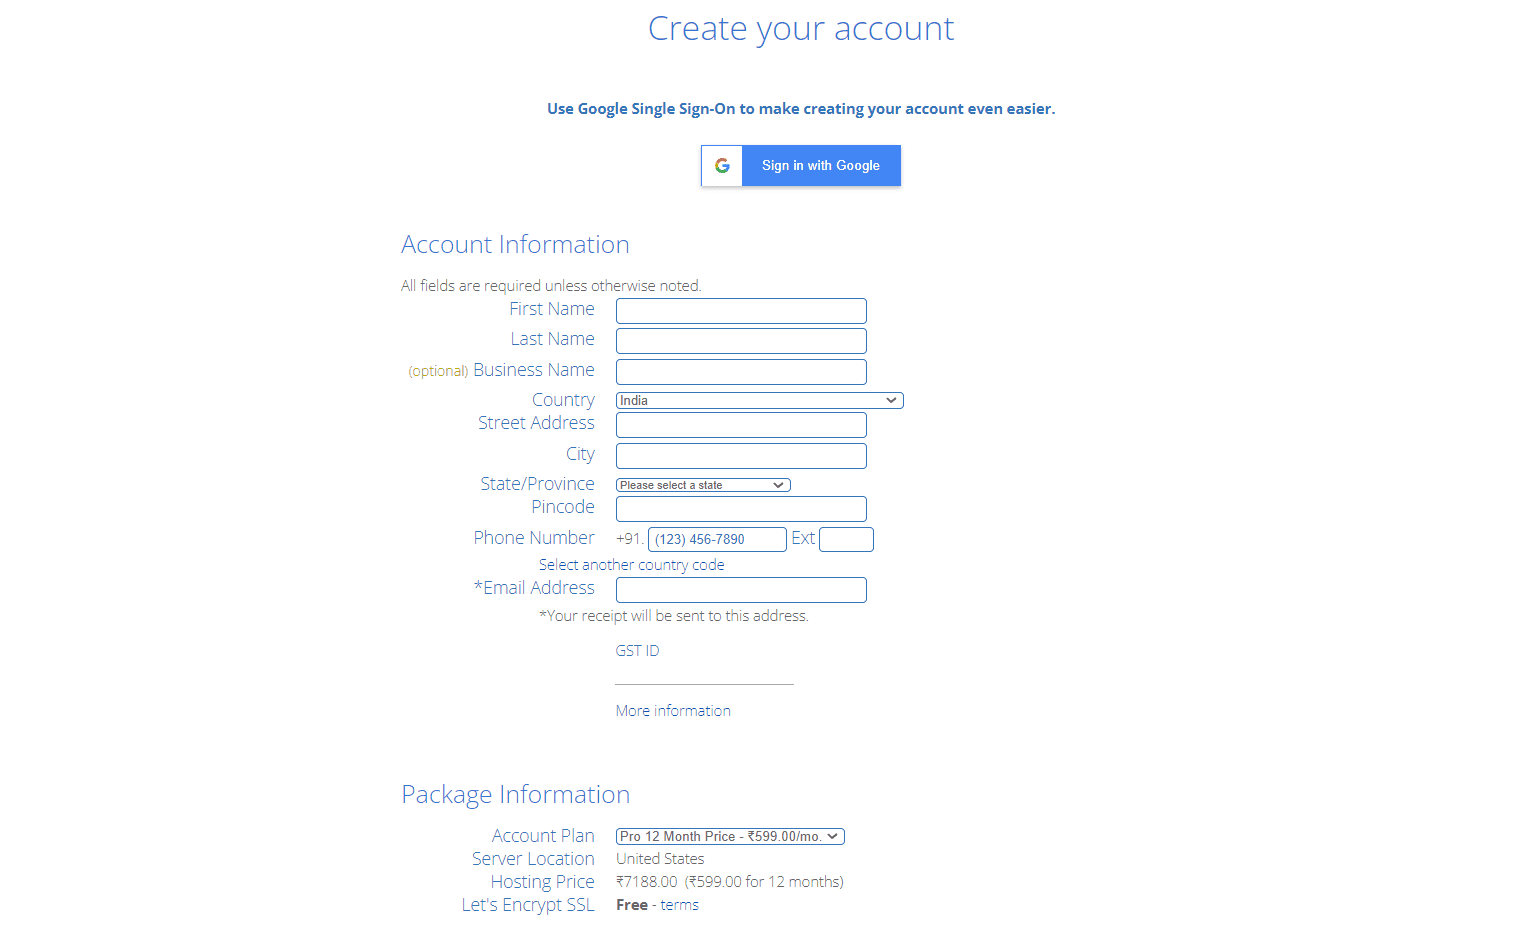
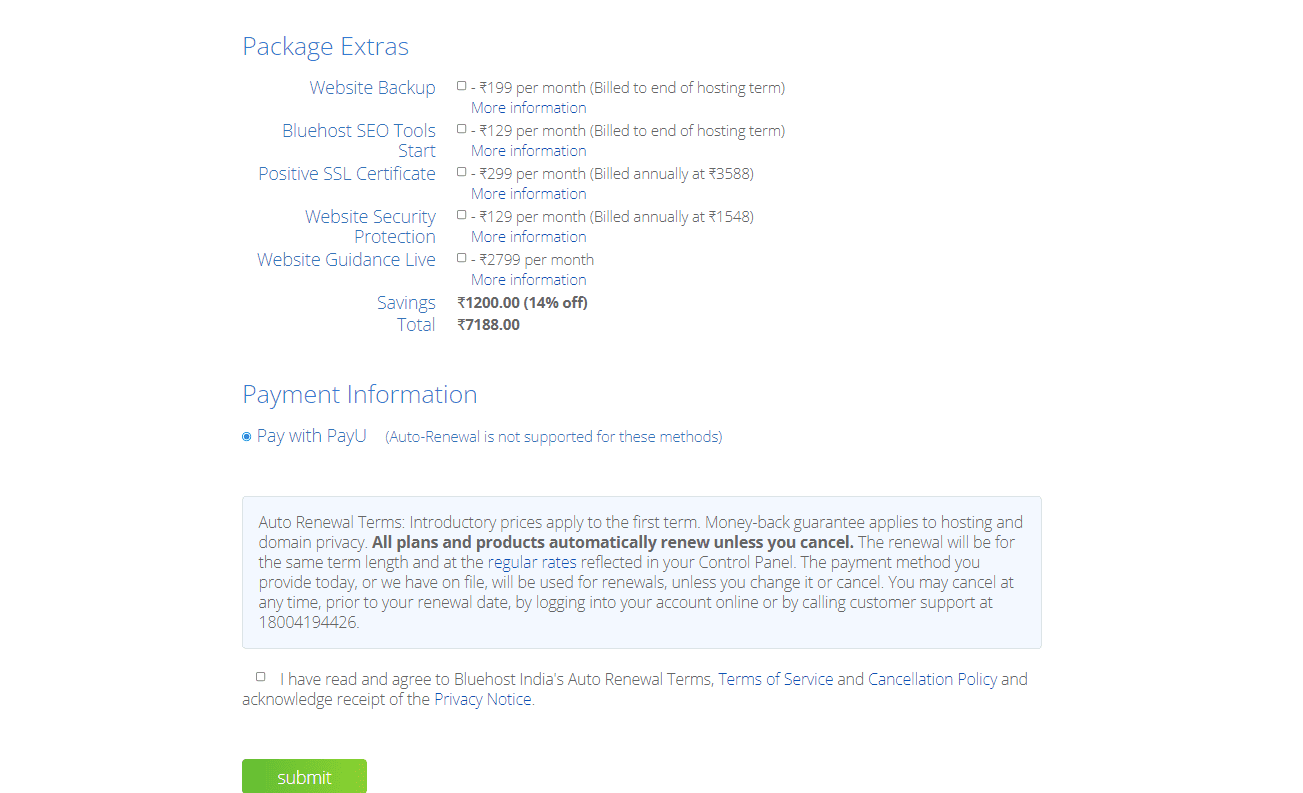 Step 3: Post purchasing the Website Builder plan, using your credentials log in to your Bluehost account.
 After logging in you will be redirected to the Bluehost dashboard
Step 4: Since you haven’t started building your website you will be redirected to the smart website building experience. Click on ‘Create your website’ to create your very first WordPress powered e-commerce website
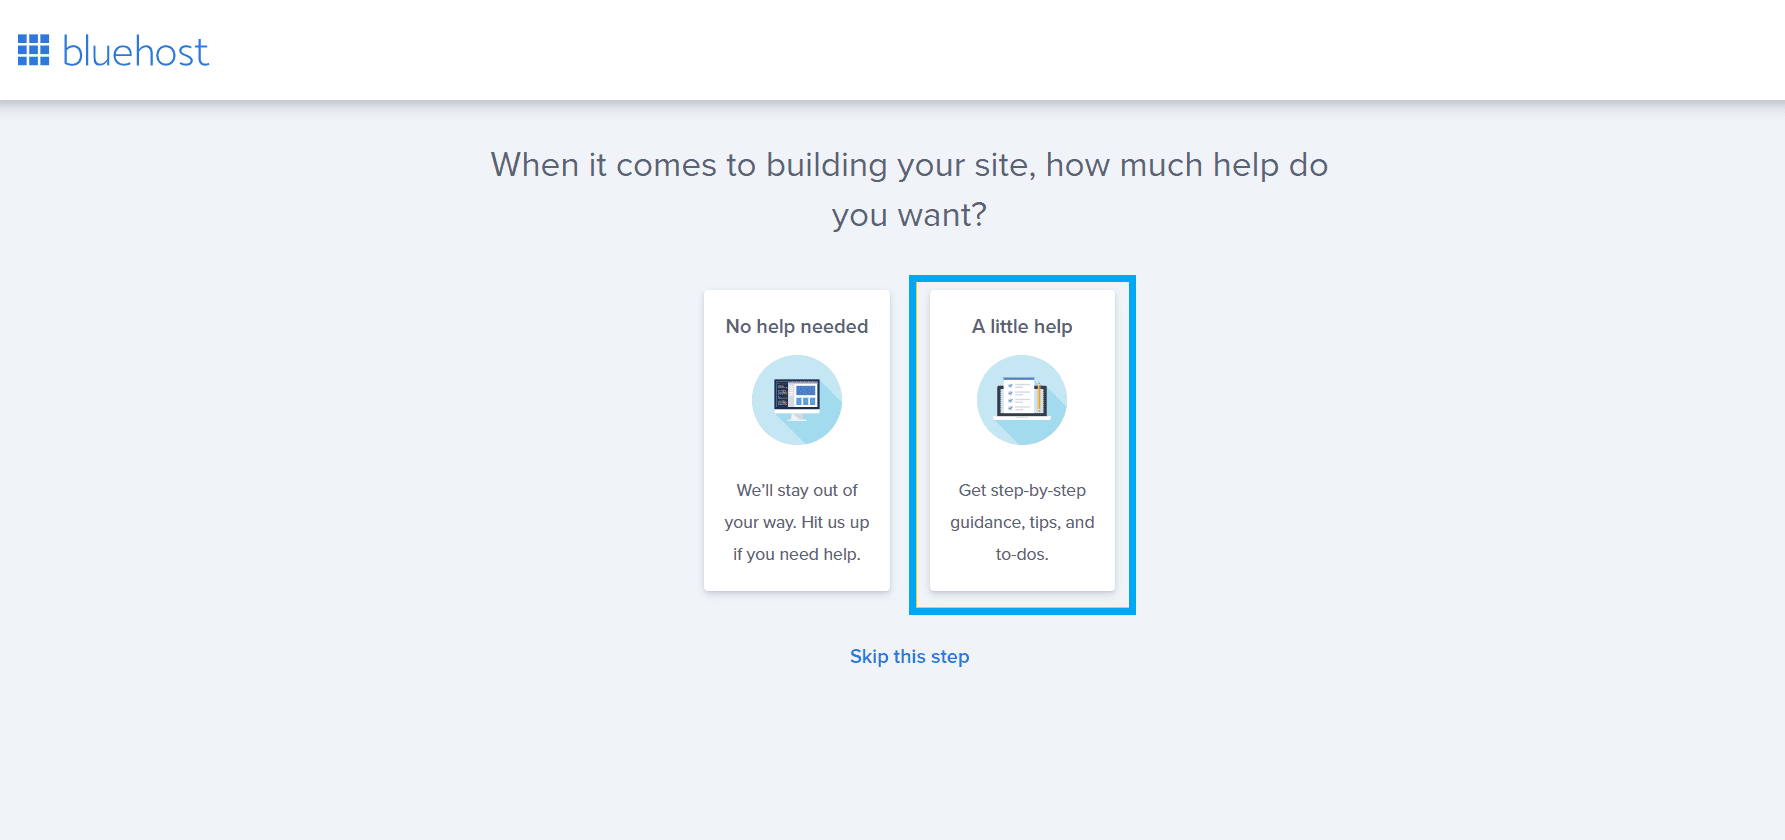
 Next, if you need help with building your website click on the image mentioning ‘A little help’
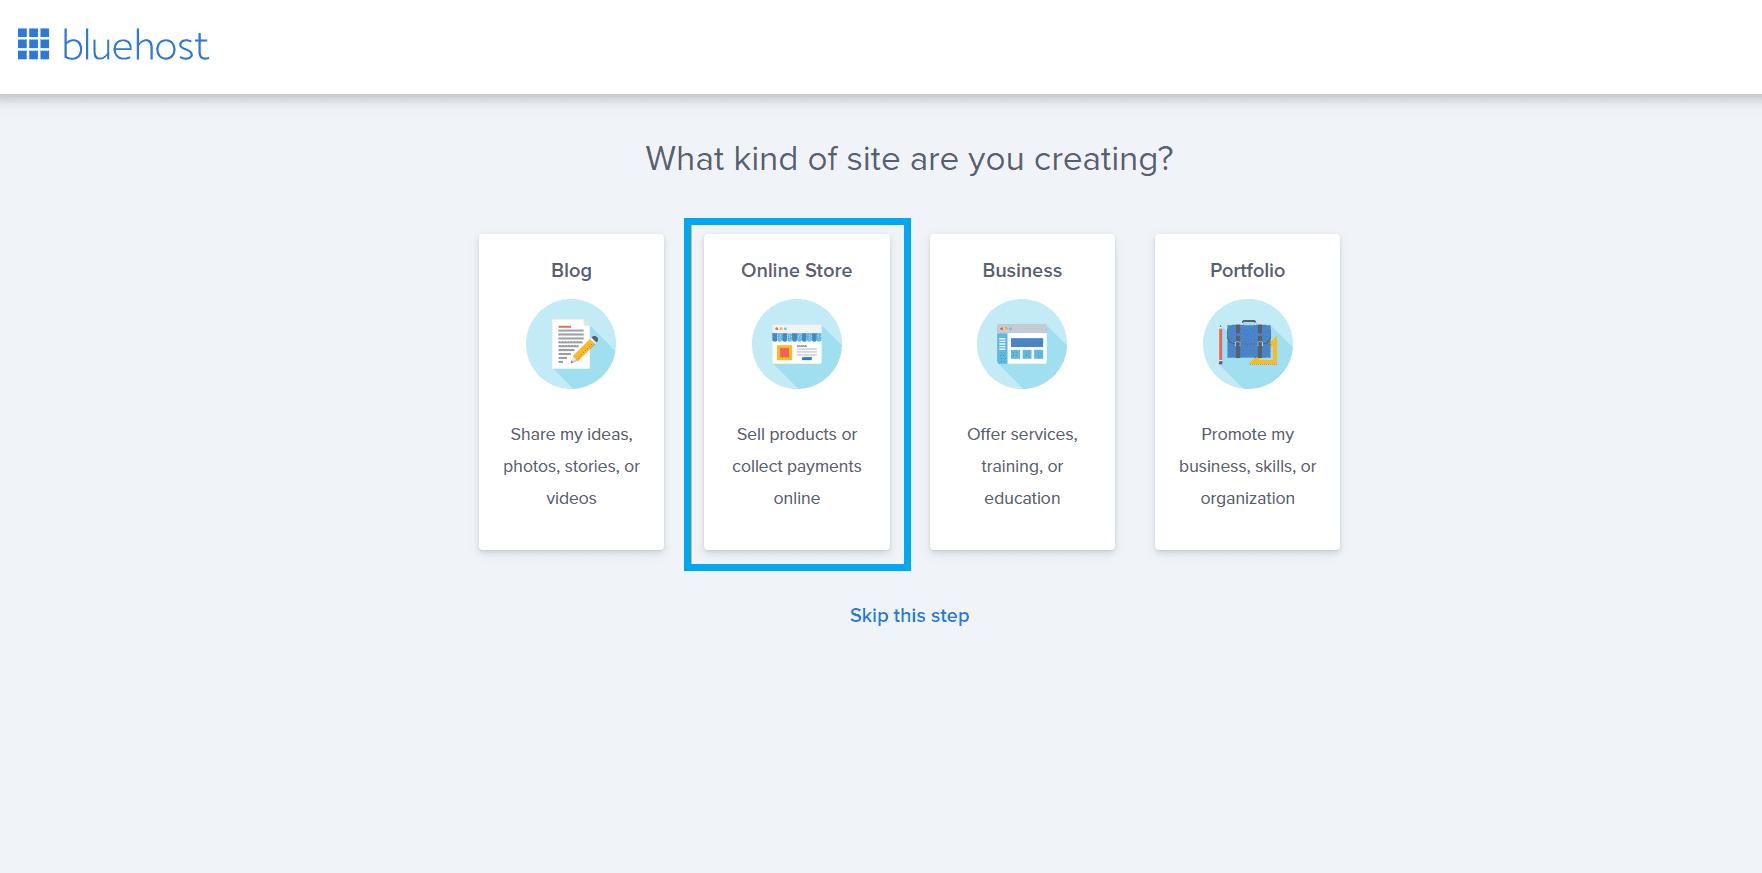
 Depending on the type of website you want to create select the appropriate option. Since we want to create an online store, click on ‘Online Store’
 Next, the smart AI asks you a couple of questions, based on your experience you may select the radio button, and click on ‘Continue’
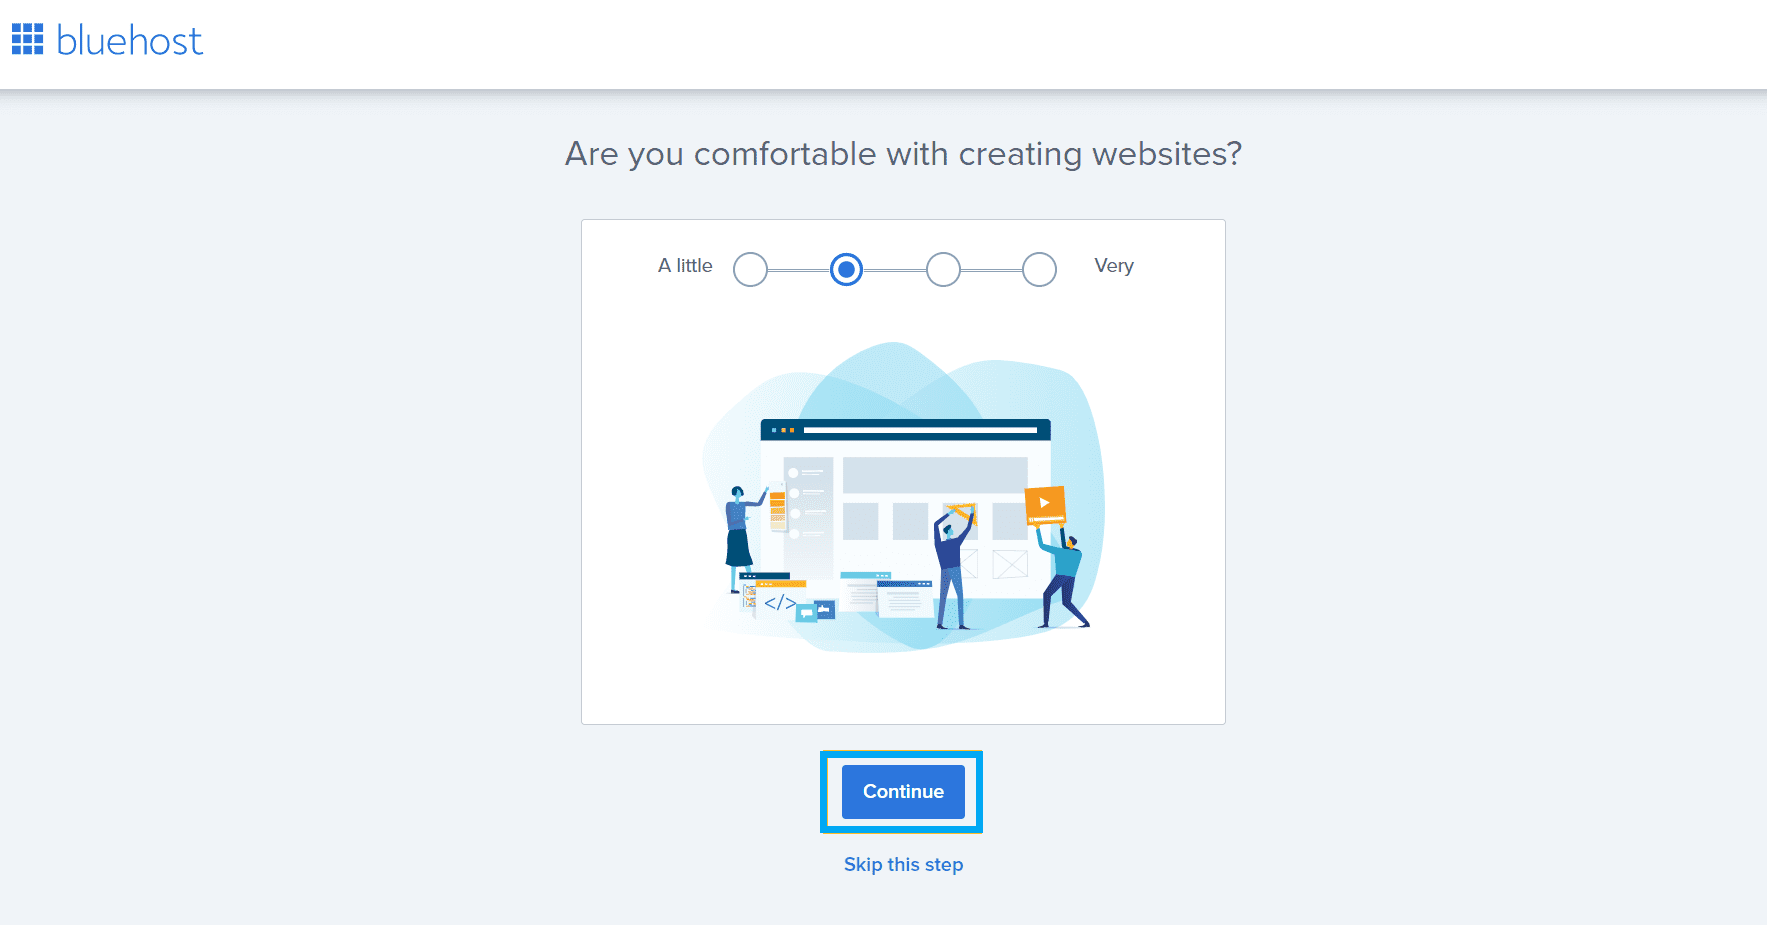 Next, click on ‘Start Building’ to create your very first WordPress powered e-commerce website with Bluehost’s Website Builder
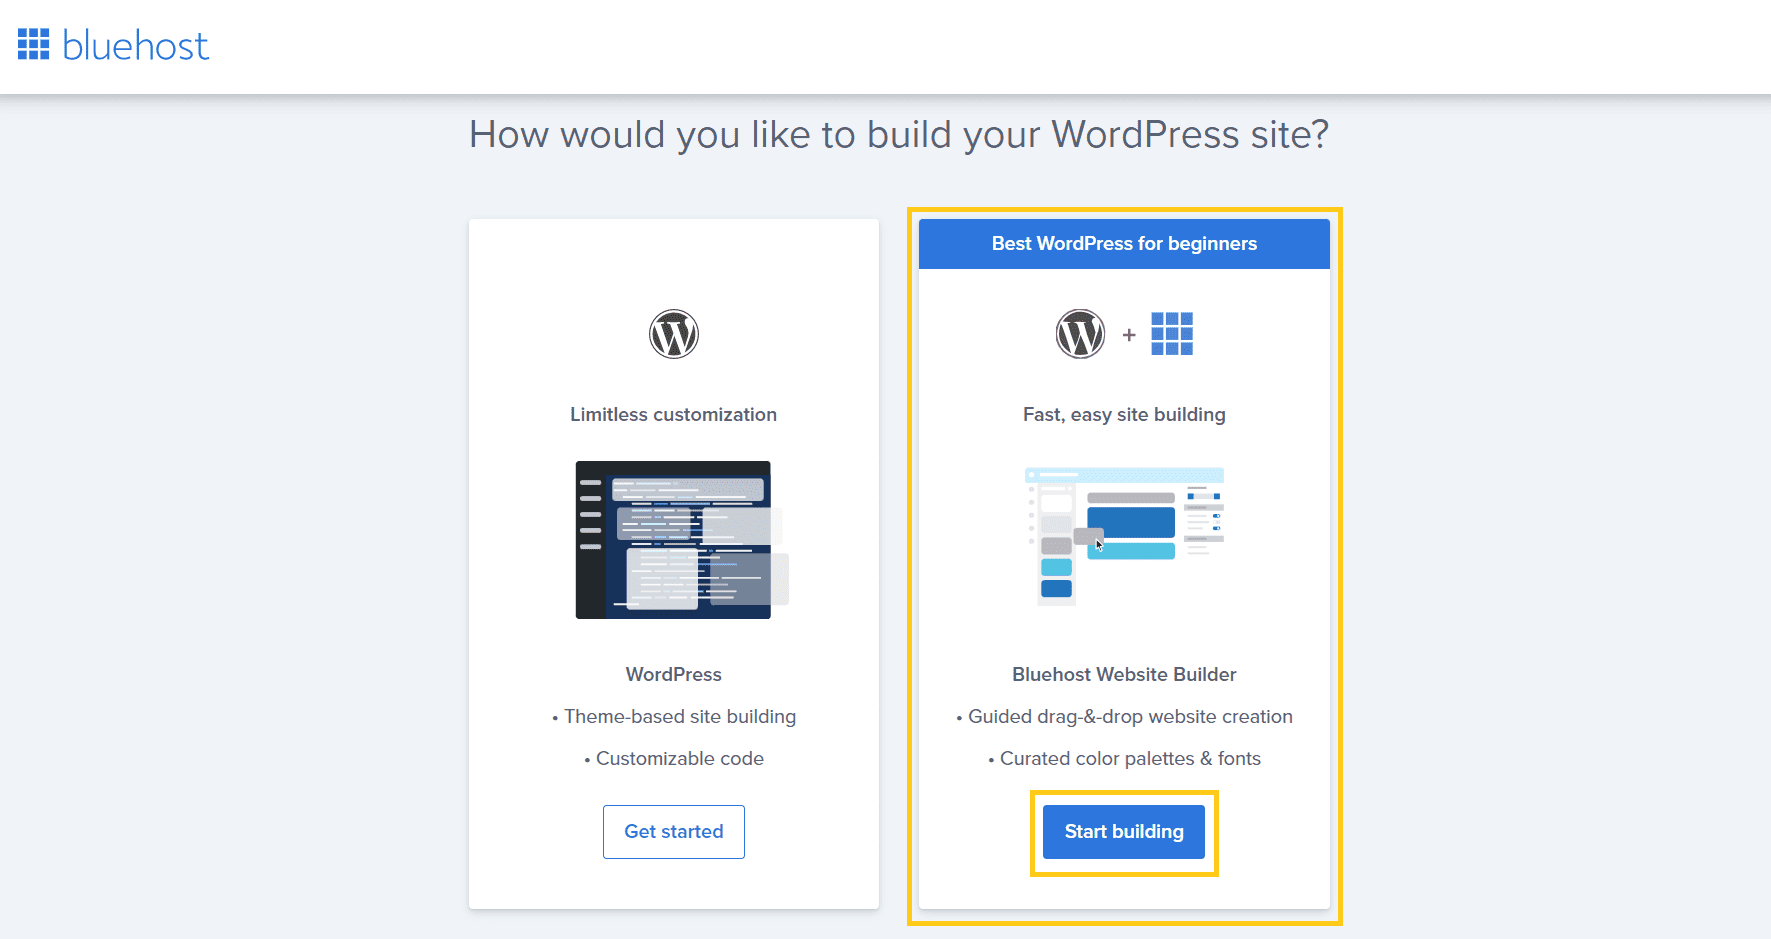 Step 5: Answer the questions prompted by the Website Builder. First, select what your site is all about – if it isn’t one of the nine suggested options, search for the right keyword. Our keyword wasn’t mentioned so we searched for it. Once found, click on ‘Continue’
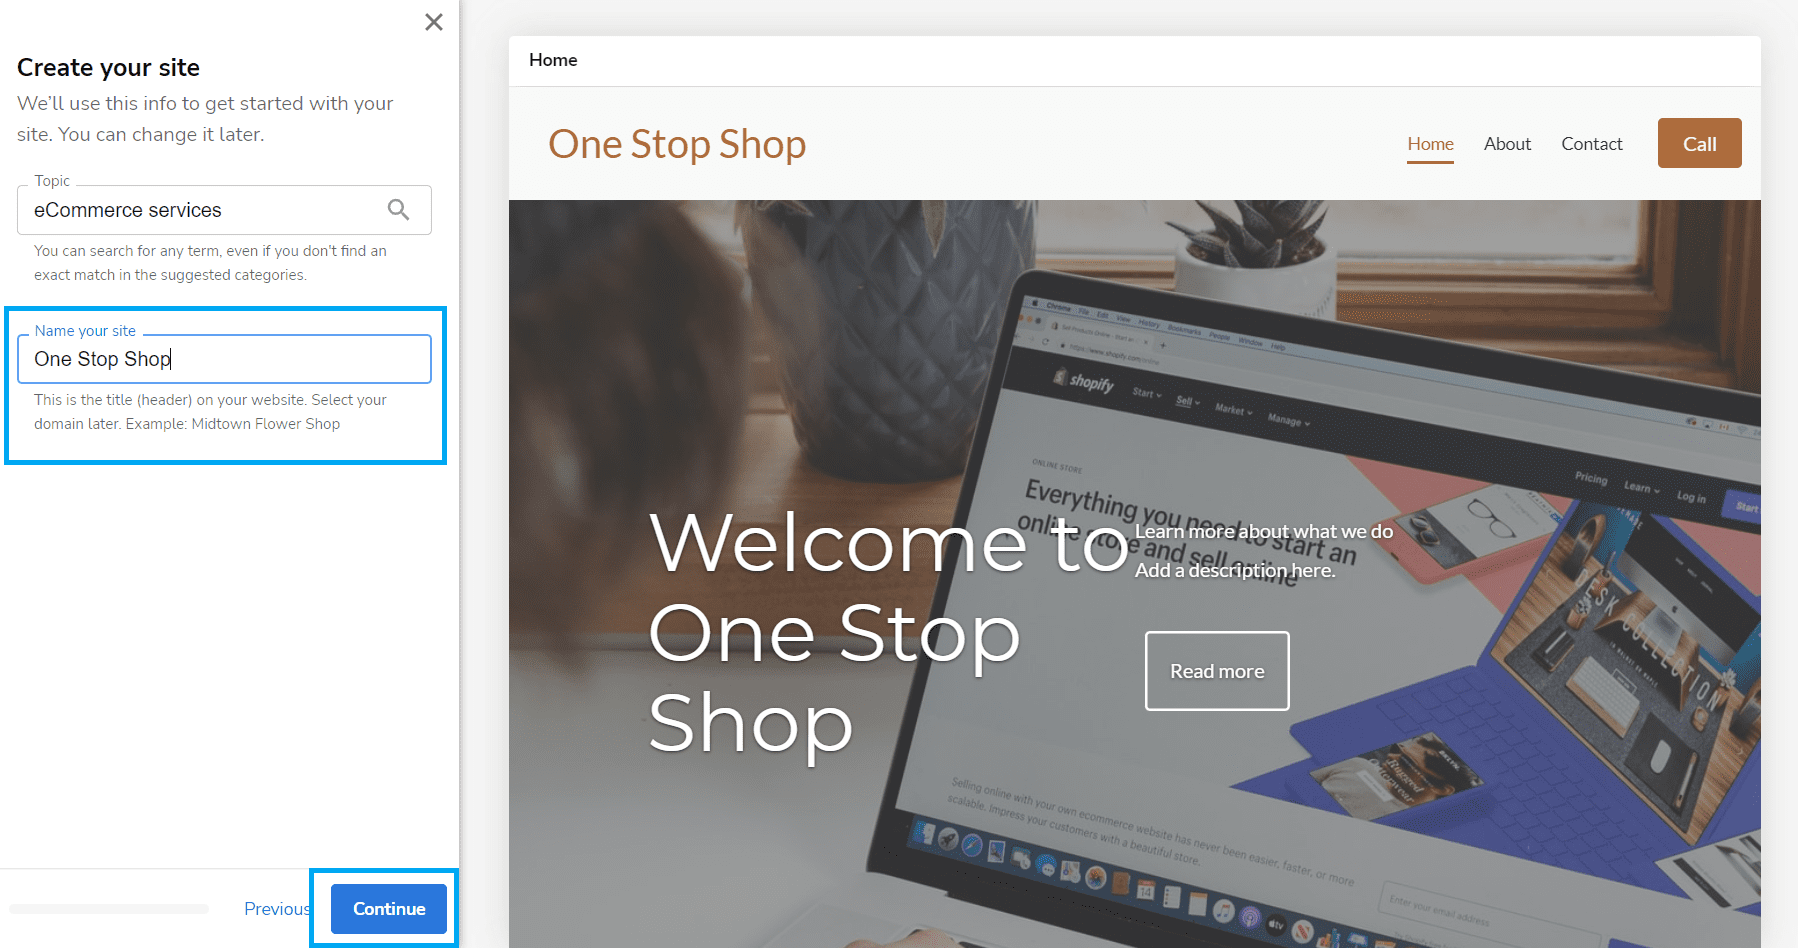
 Next, enter the name of your website. We have named our website ‘One Stop Shop’ as our website is an e-commerce website. Click on ‘Continue’ to proceed to the next step
 Next, you need to add a cover image for your website. You can either upload a specific cover image or choose from the stock photographs. Once you’ve selected your cover image, click on ‘Continue’ to proceed to the next step
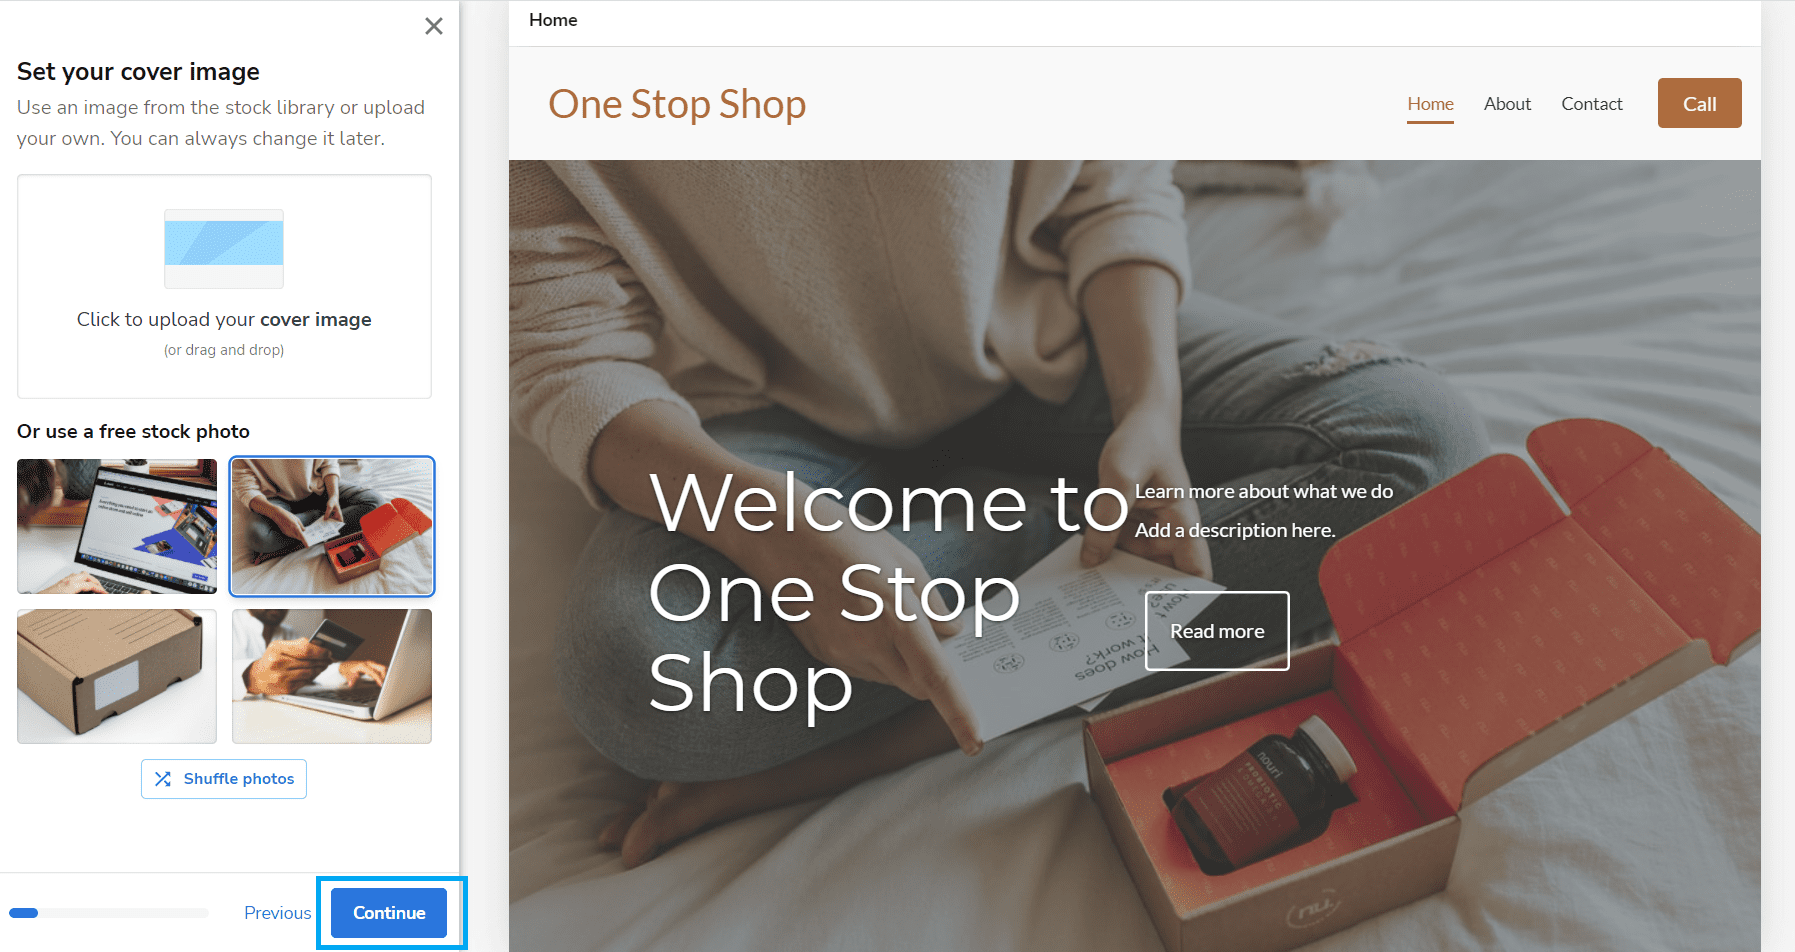 Note: Your website’s cover image is automatically selected based on the keyword you choose to describe your website.
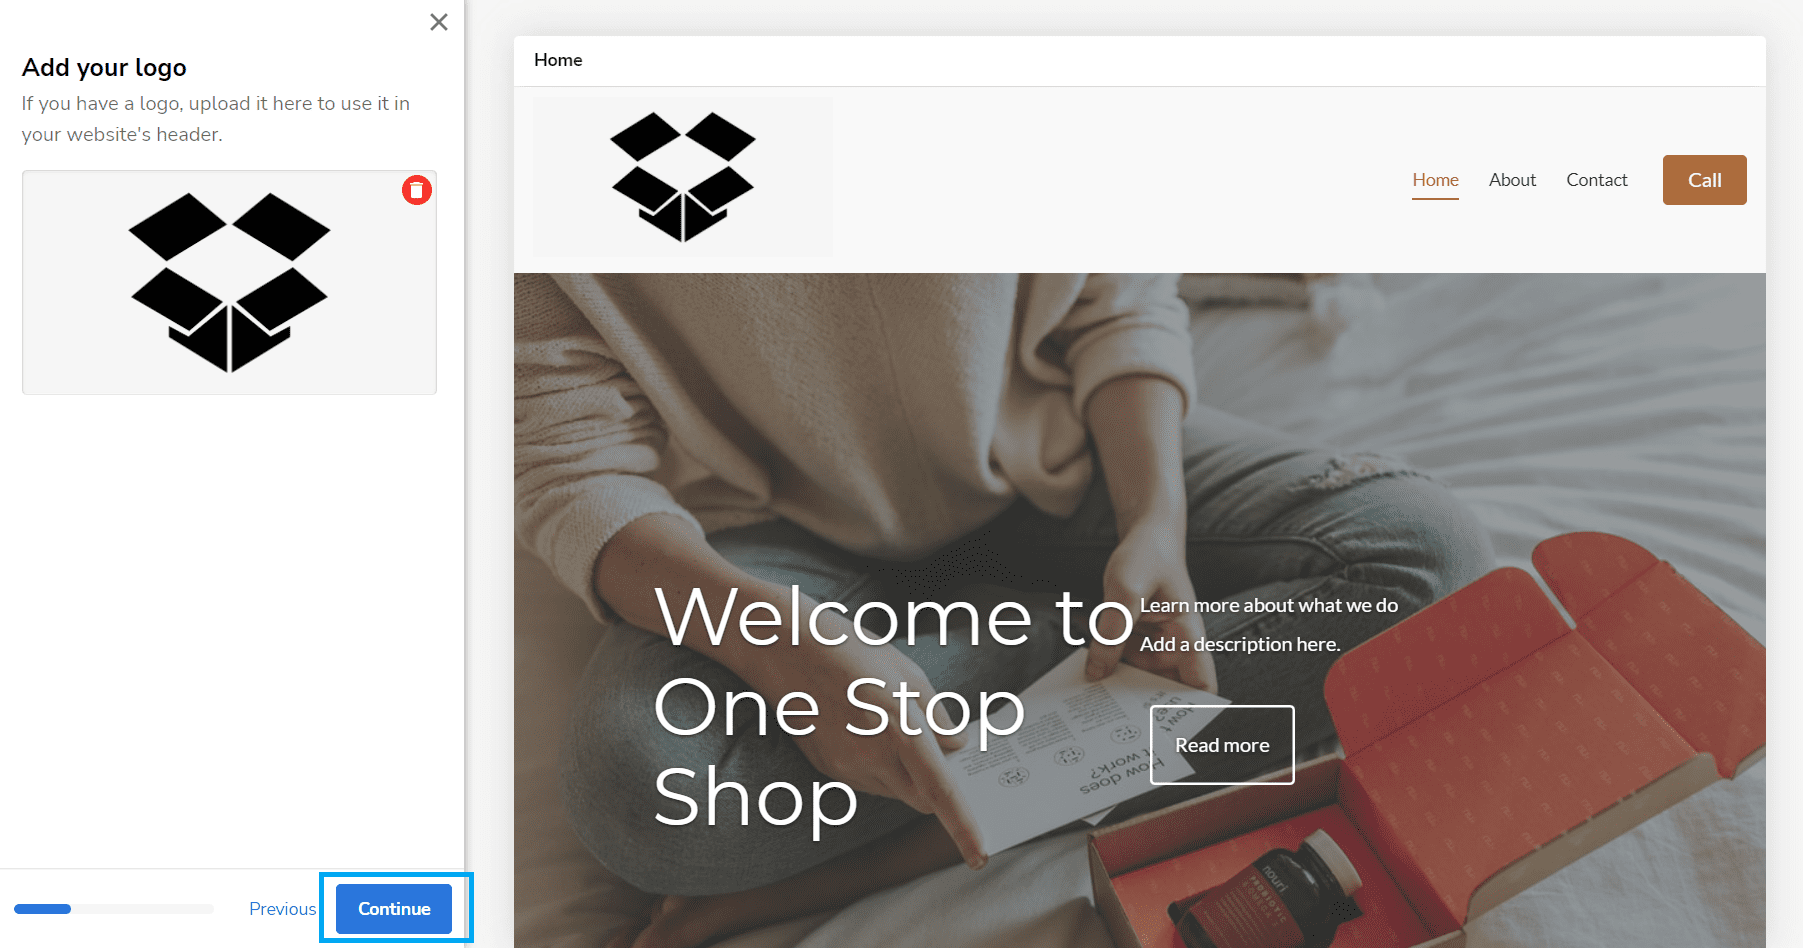
Next, you need to upload a logo for your website. Your website logo is unique to your brand, so you will need to upload the image. Post adding your logo, click on ‘Continue’ to proceed to the next step
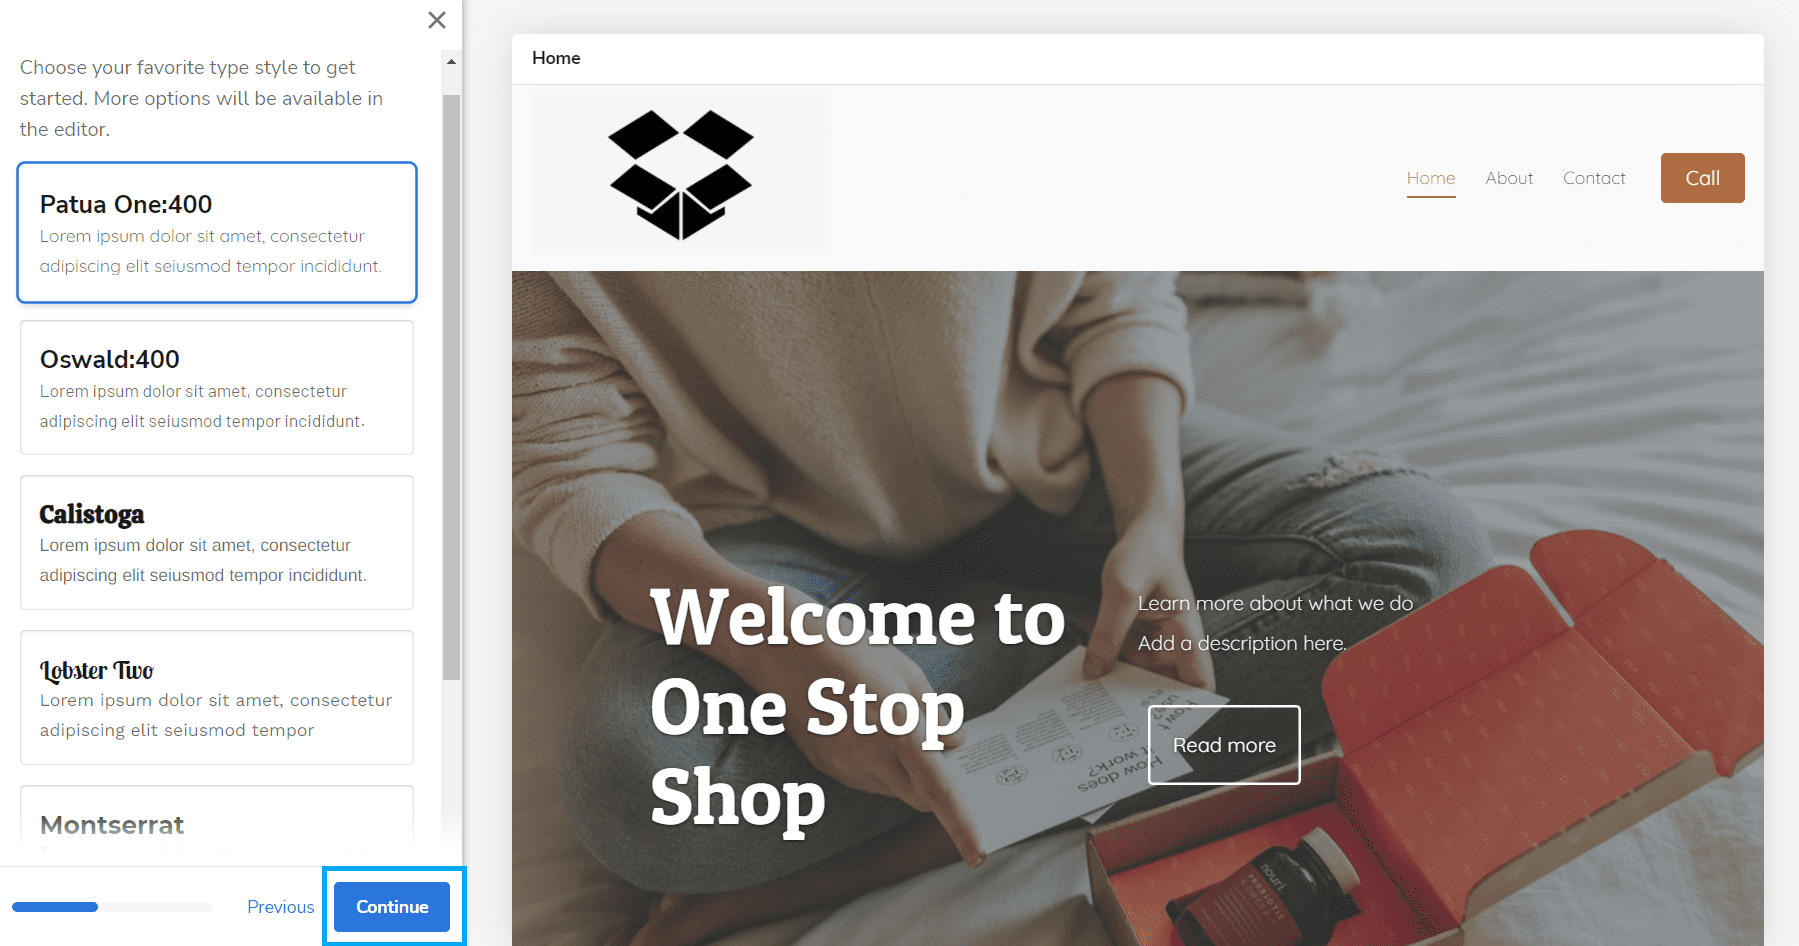
 Next, you need to select the display font on your website. There are several font styles available on the Website Builder to choose from. Click on the font style of your choice and click on ‘Continue’ to proceed to the next step
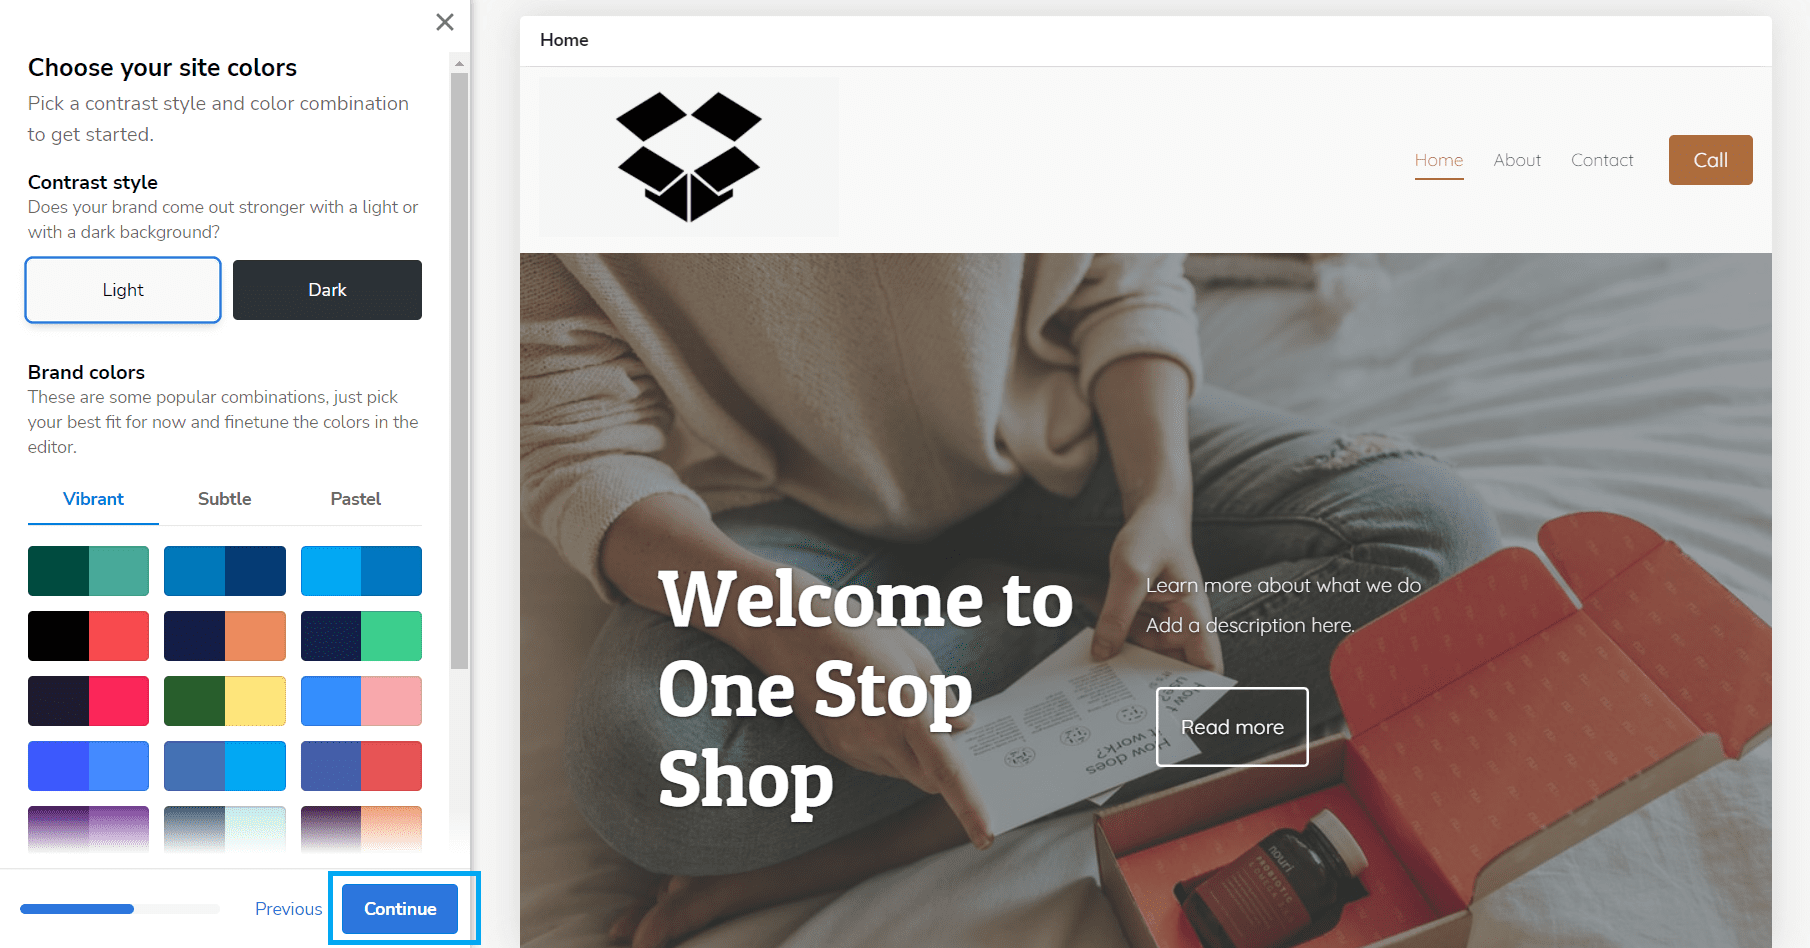
 Next is the colour scheme of your website. The colour scheme is divided into two segments viz. Content style and Brand colors. Choose the colour scheme based on your brand guidelines and click on ‘Continue’ to proceed to the next step
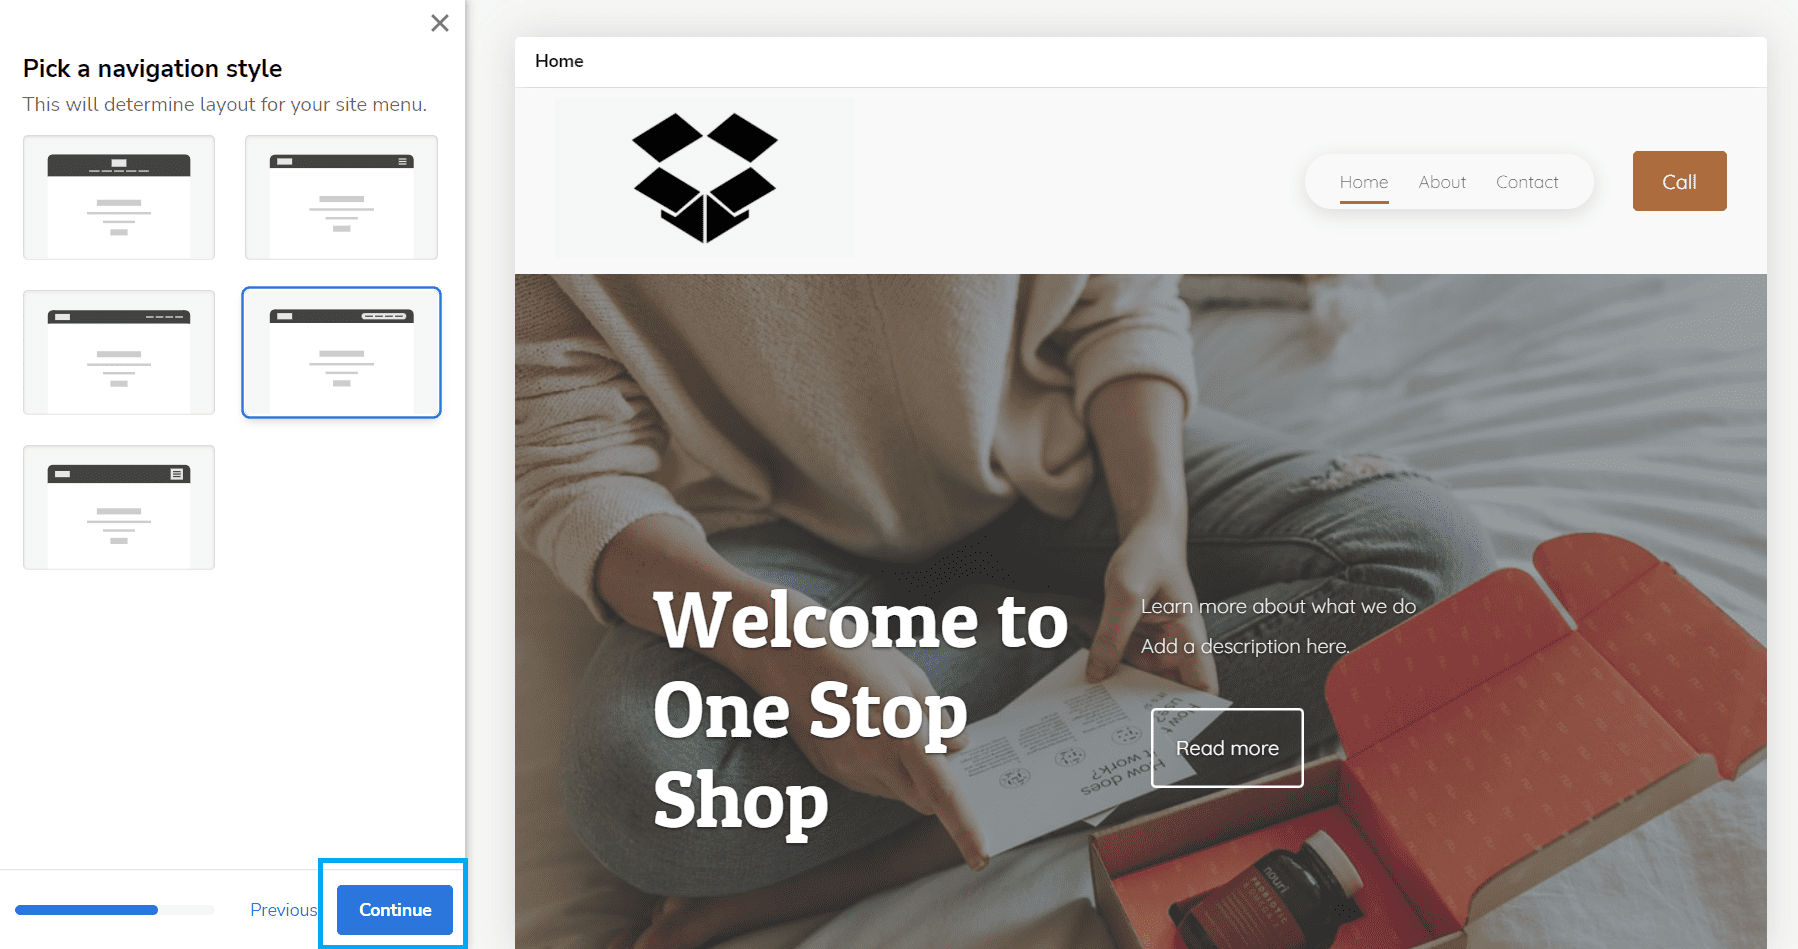
 Post this you need to choose a navigation style. Navigation style is how your website header and cover image will look to your customers. There are 5 styles to choose from, you can click on each style to compare and then select one. After you’ve selected a style, click on ‘Continue’ to proceed to the next step
 The last step is to add contact information to your website. The contact information that you will add will automatically be displayed on the Footer section of your website. Add all the details and click on ‘Finish’ for Website Builder to start assembling your website
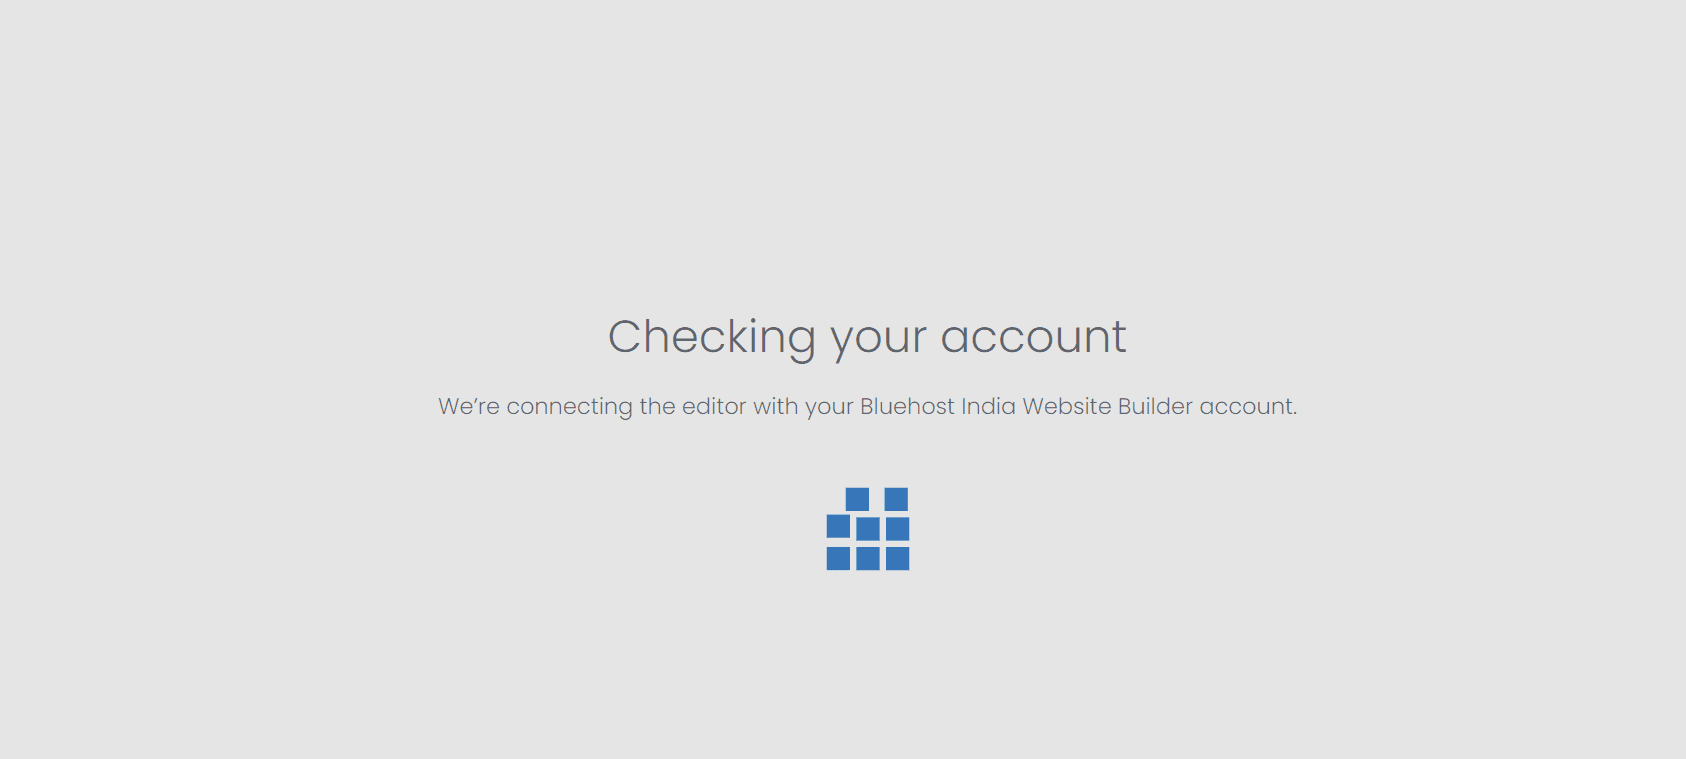
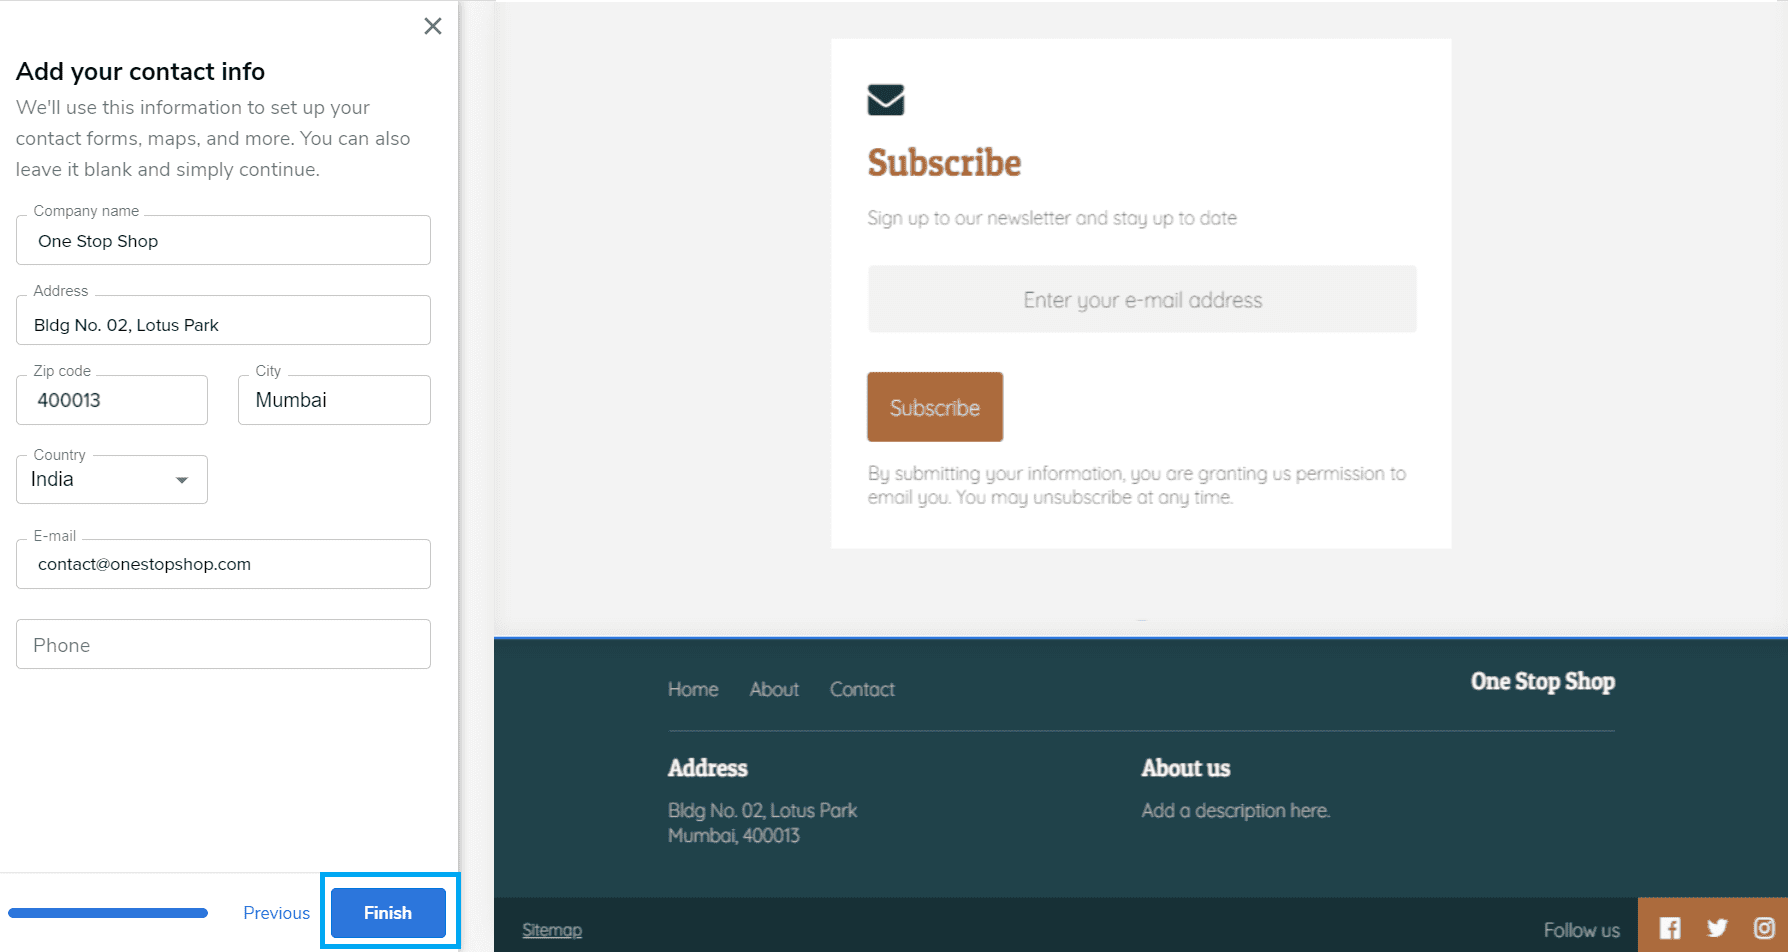 After the Website Builder editor has completed building your website, you will be redirected to your Bluehost Website Builder dashboard to manage it. This might take a few minutes, and the following window will be displayed in the meantime
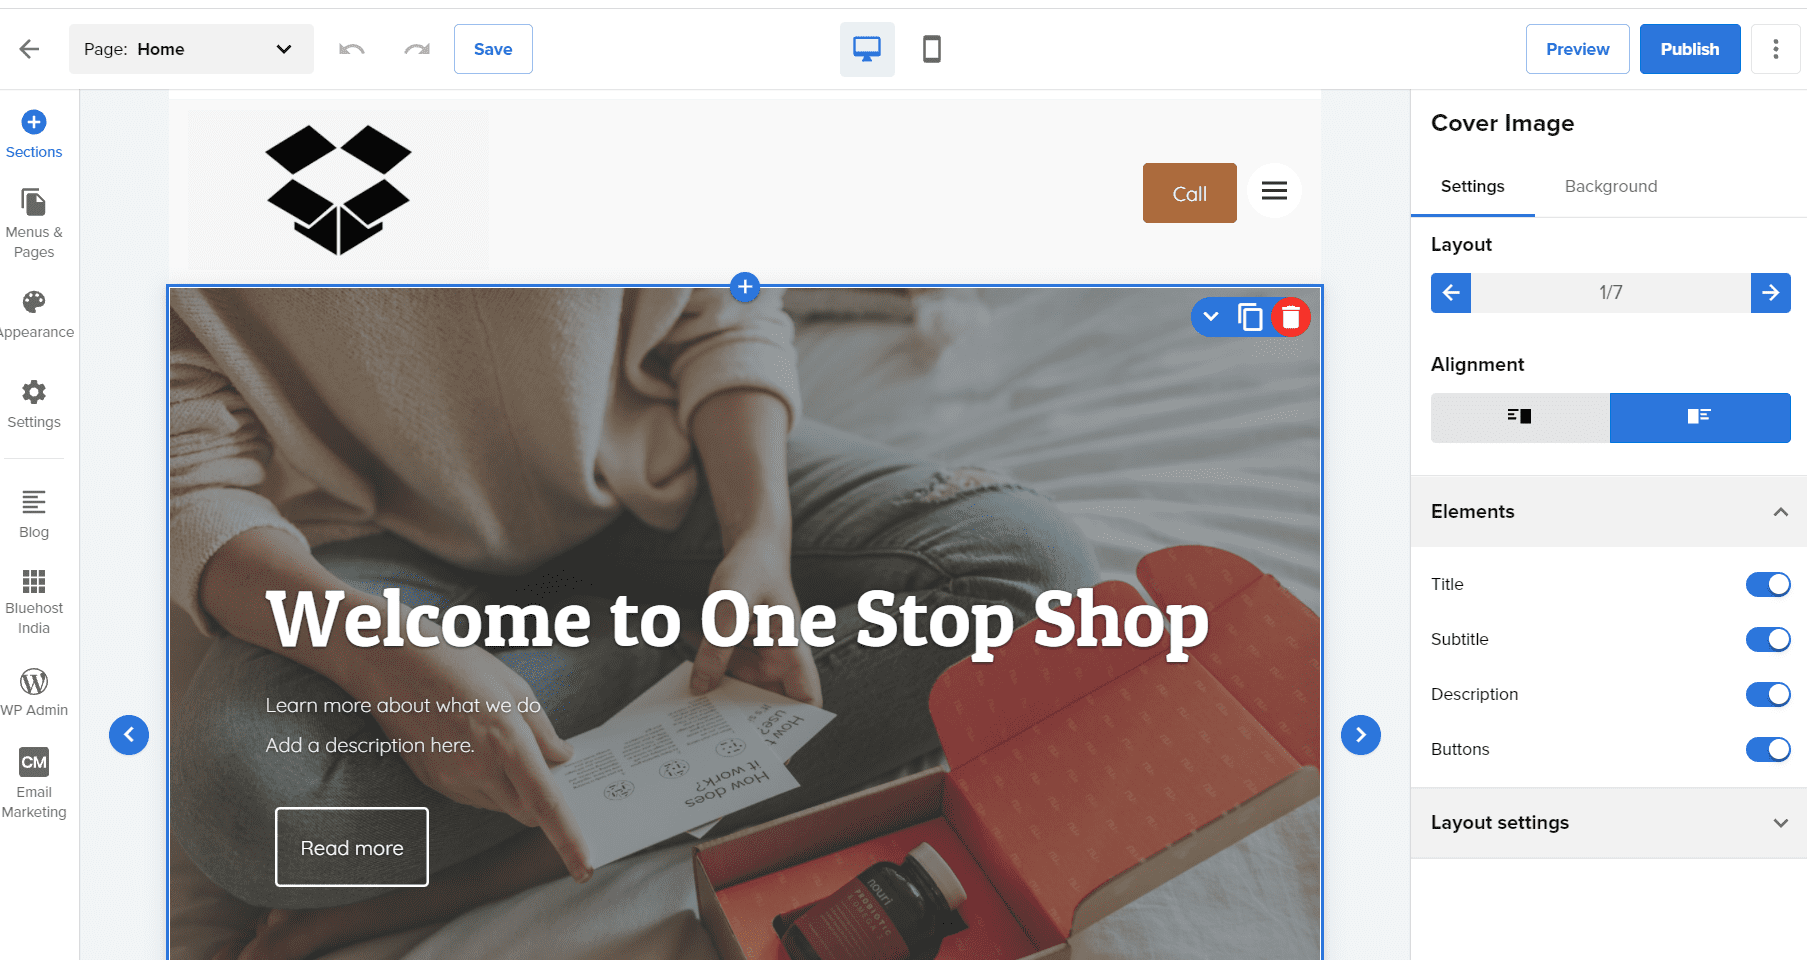
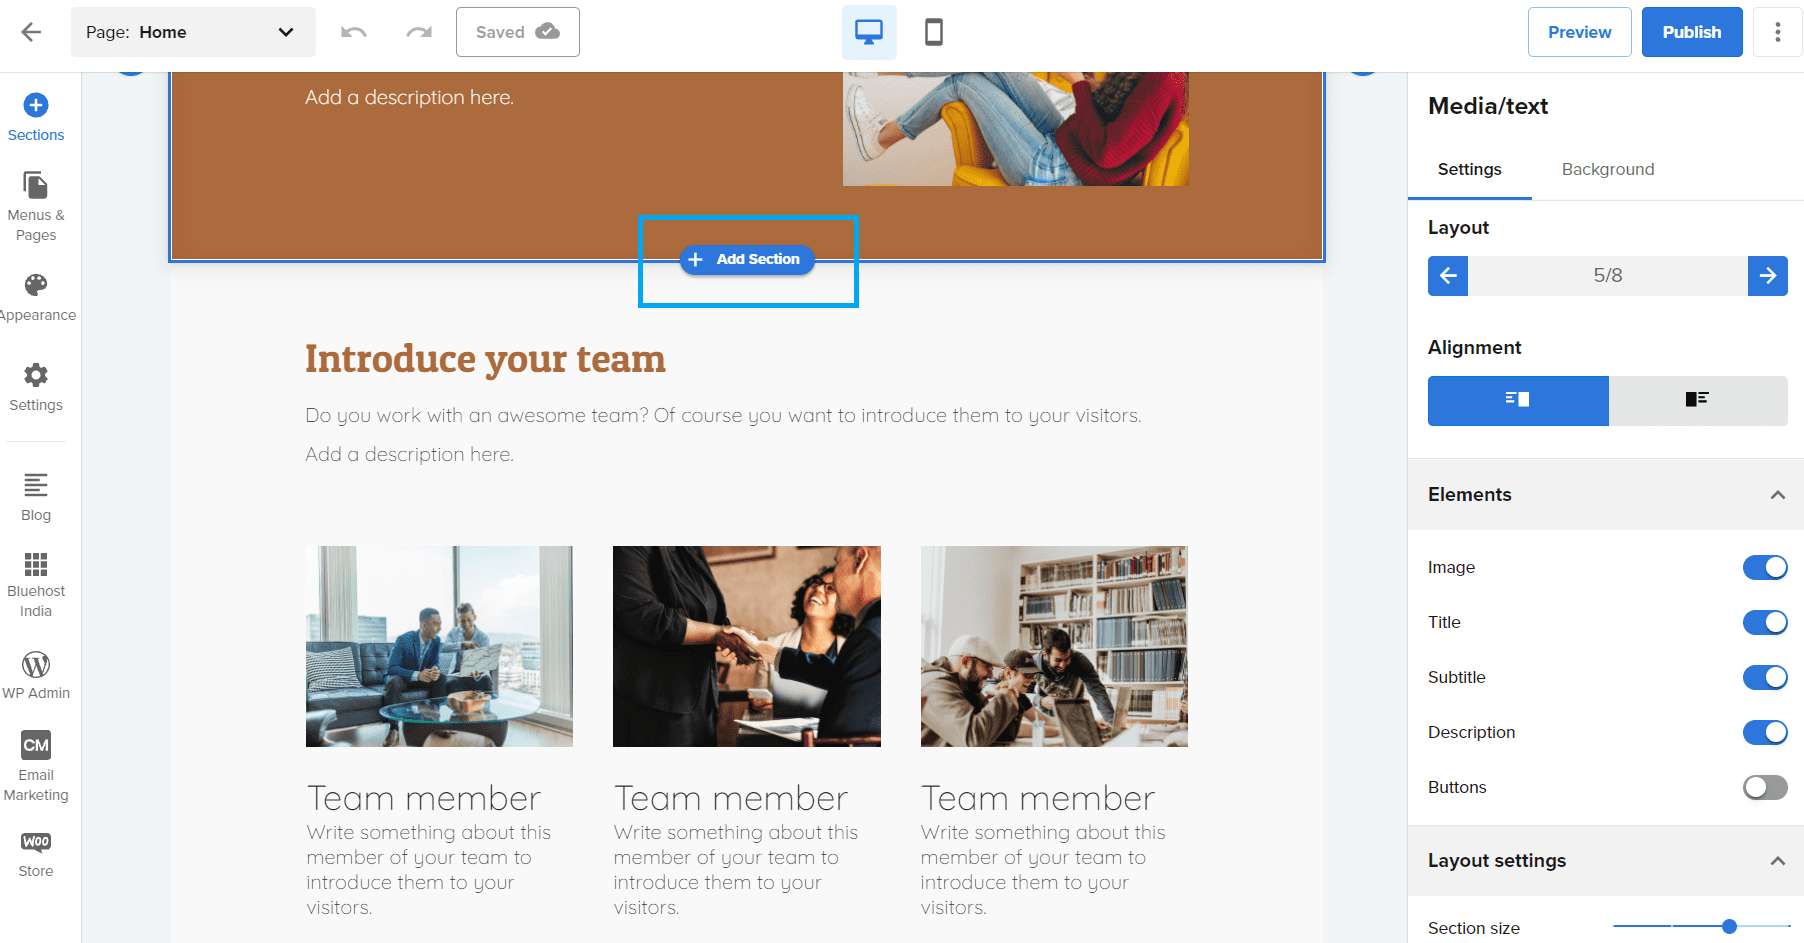
 Step 6: After the Website Builder editor has successfully built your website, you will be redirected to the Website Builder backend. You can make changes to your website and add products you plan to sell as and when you wish to
 Step 7: To add an online store to your e-commerce website follow the following steps:
- Click on ‘Add Section’ to add an online store section to your website if you want to add products to your homepage
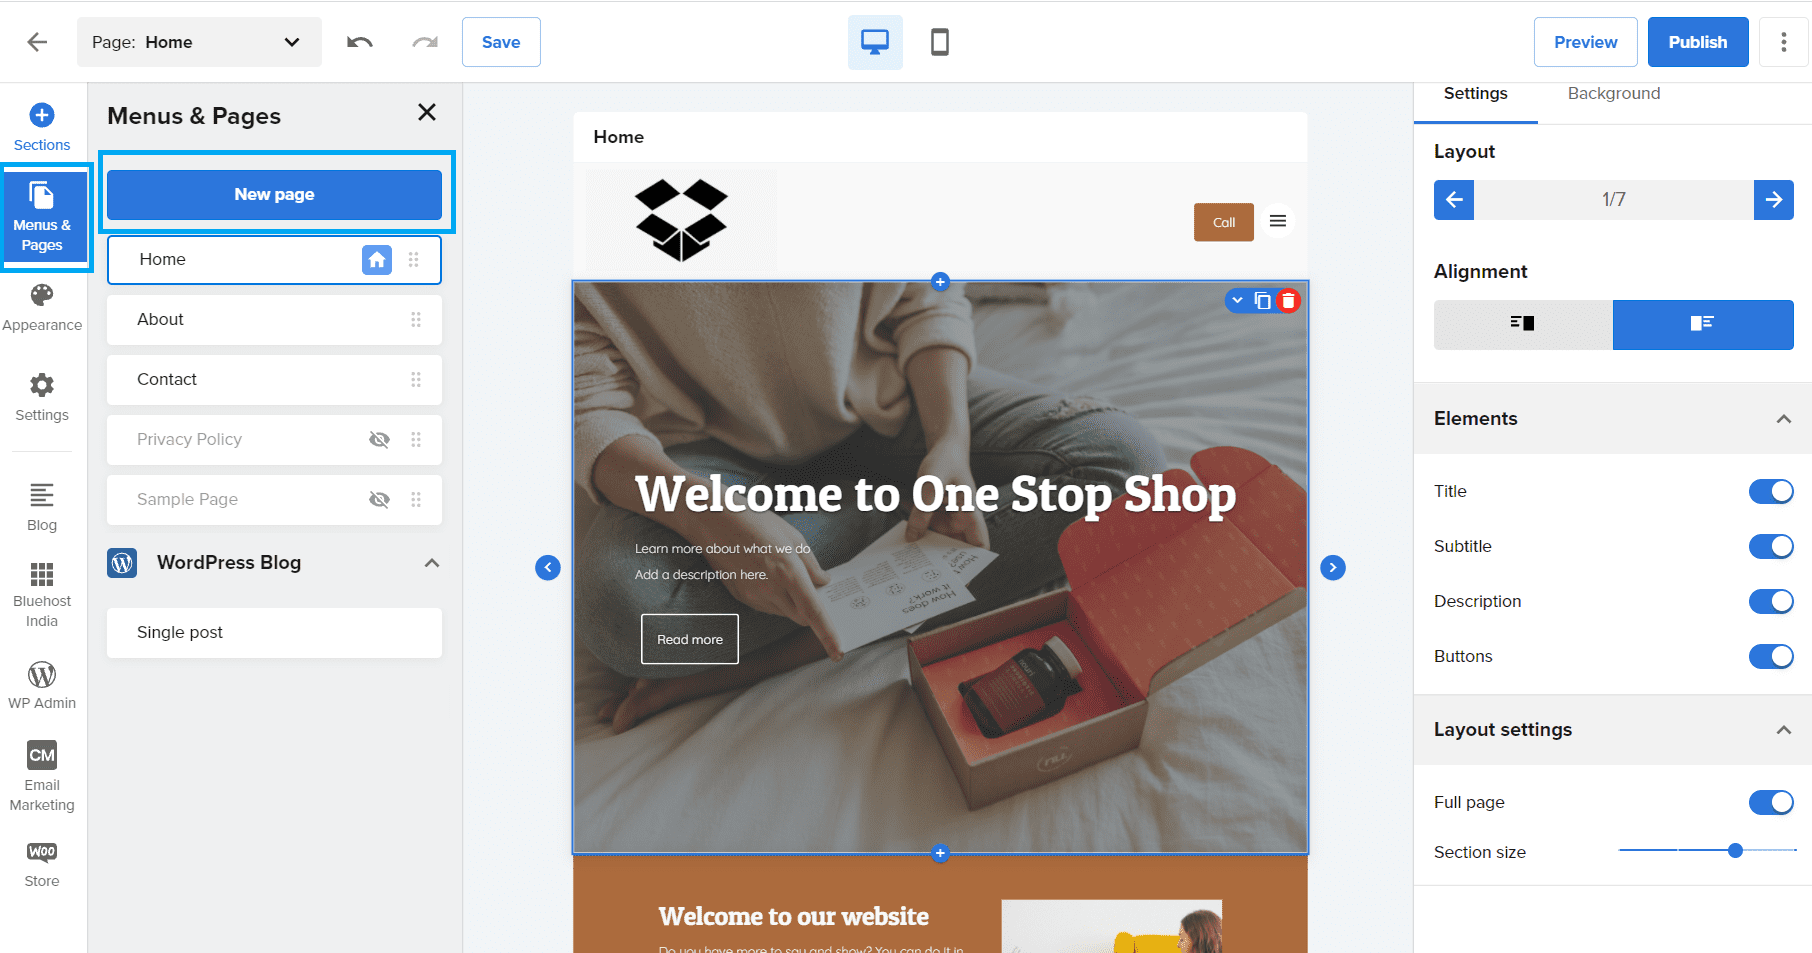
- Otherwise, you can create a new page for displaying your products. Click on ‘Menus & Pages’ then click on ‘New Page’ to create a new page
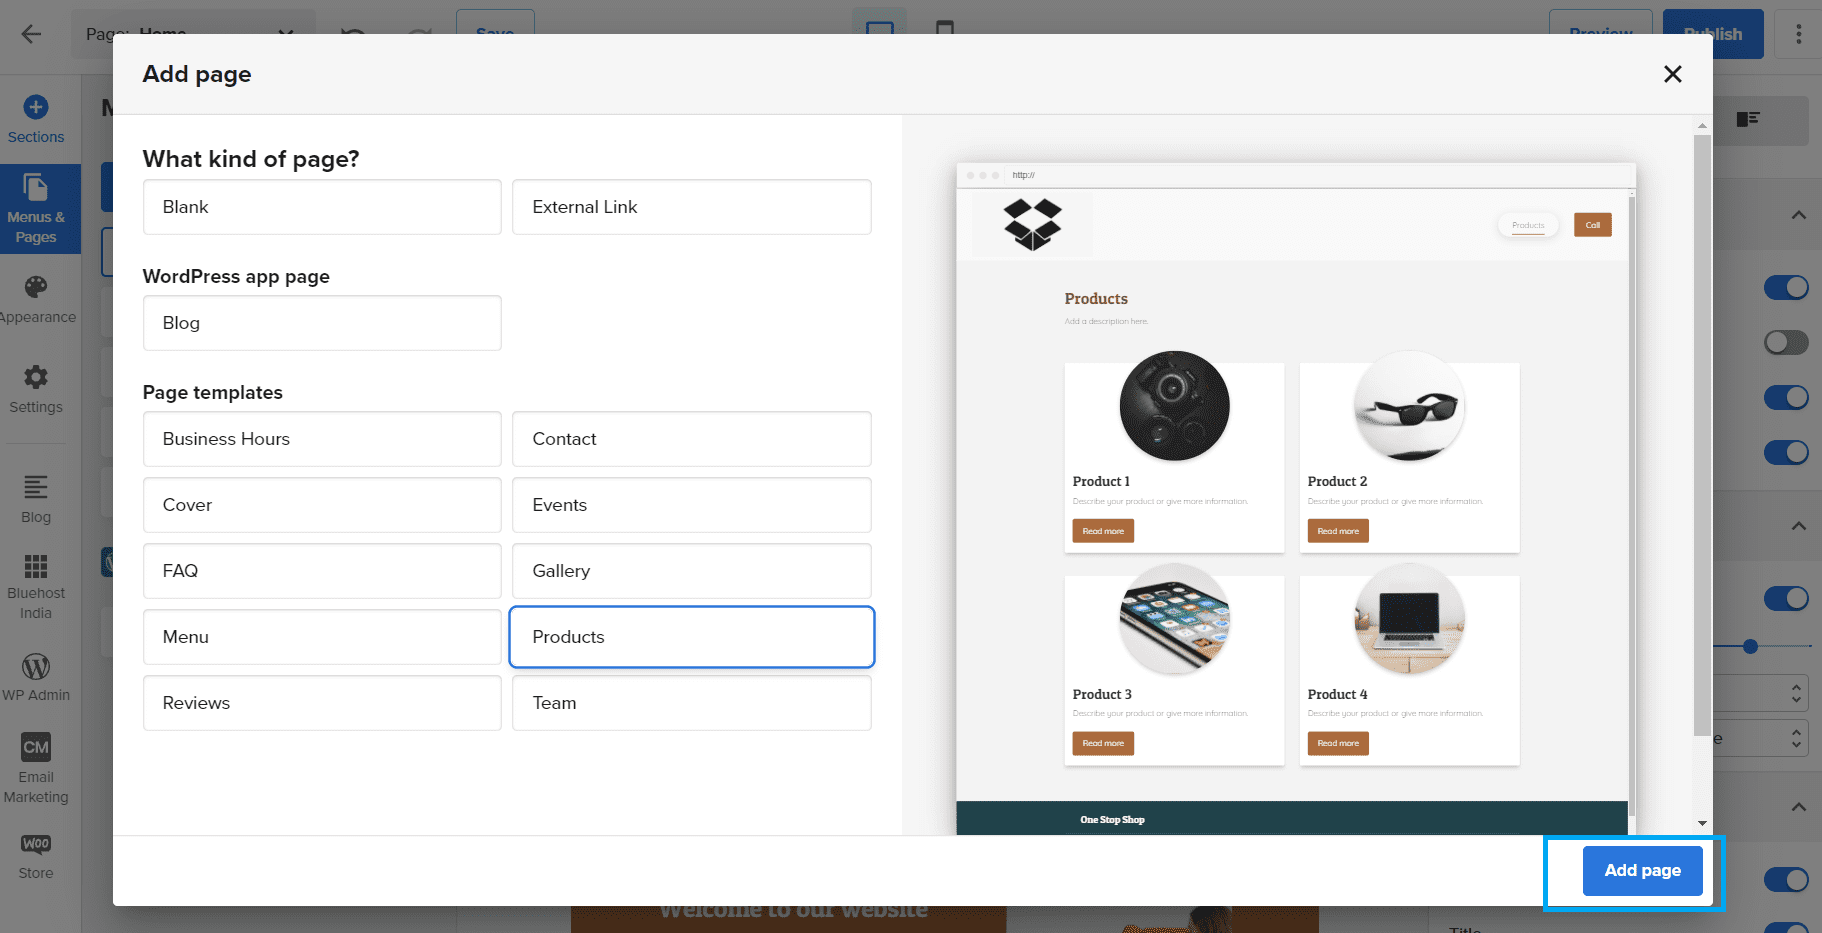
- Select relevant details to describe your new page and click on ‘Add page’
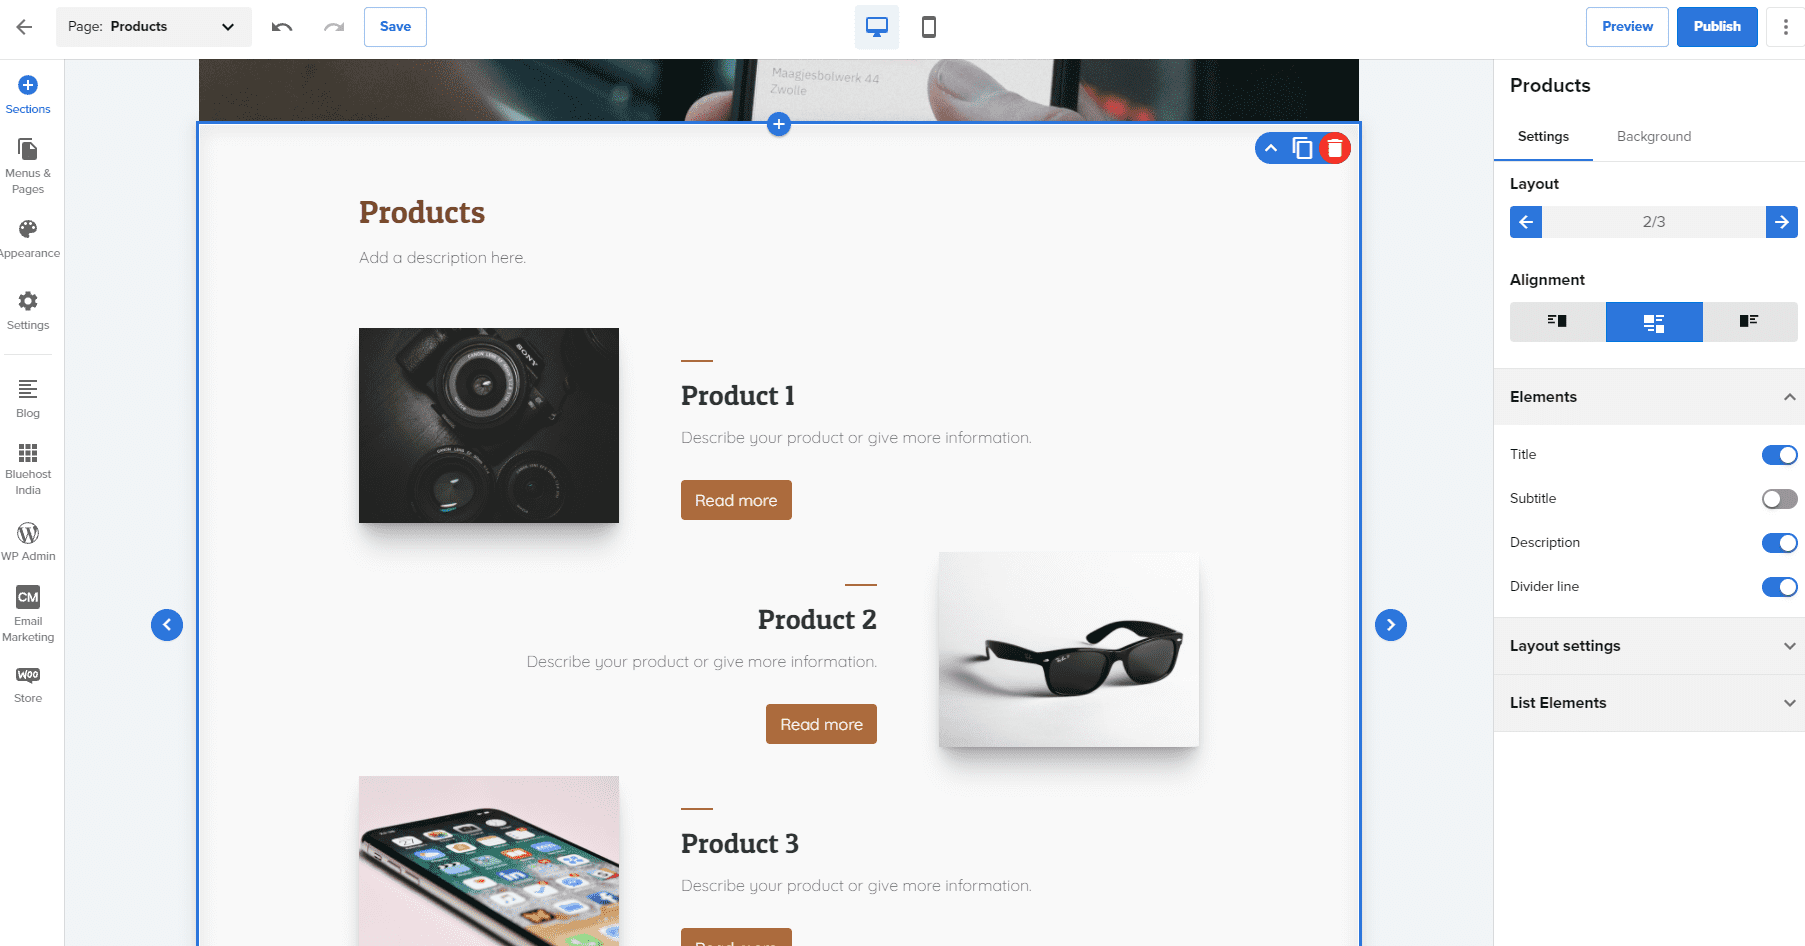
- Once your page is added you can start adding the Products. Click on ‘Products’ to add products to your website
Drag and drop the design of the product placement of your choice and edit the ‘Elements’ section on the right-hand sidebar according to your preference
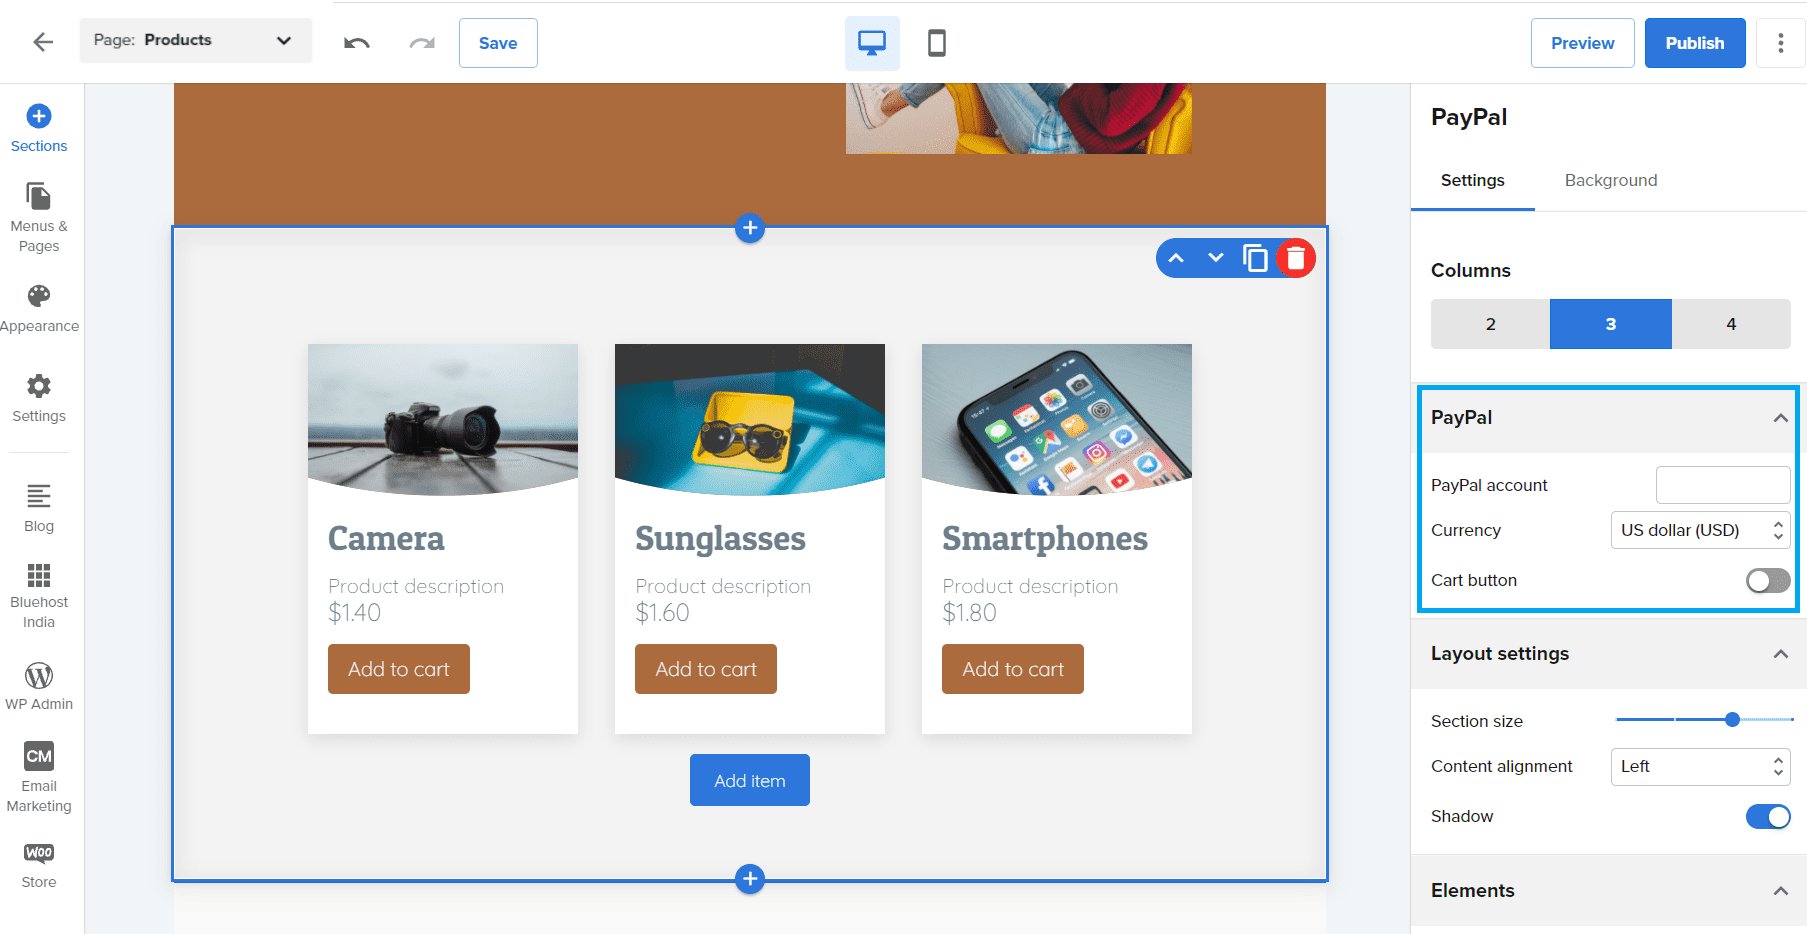
- Next, if you want to even add the payment method with your product display you can choose the ‘PayPal’ option from ‘Sections’
Drag and drop the design of the product placement and edit the ‘PayPal’ section on the right-hand sidebar according to your preference
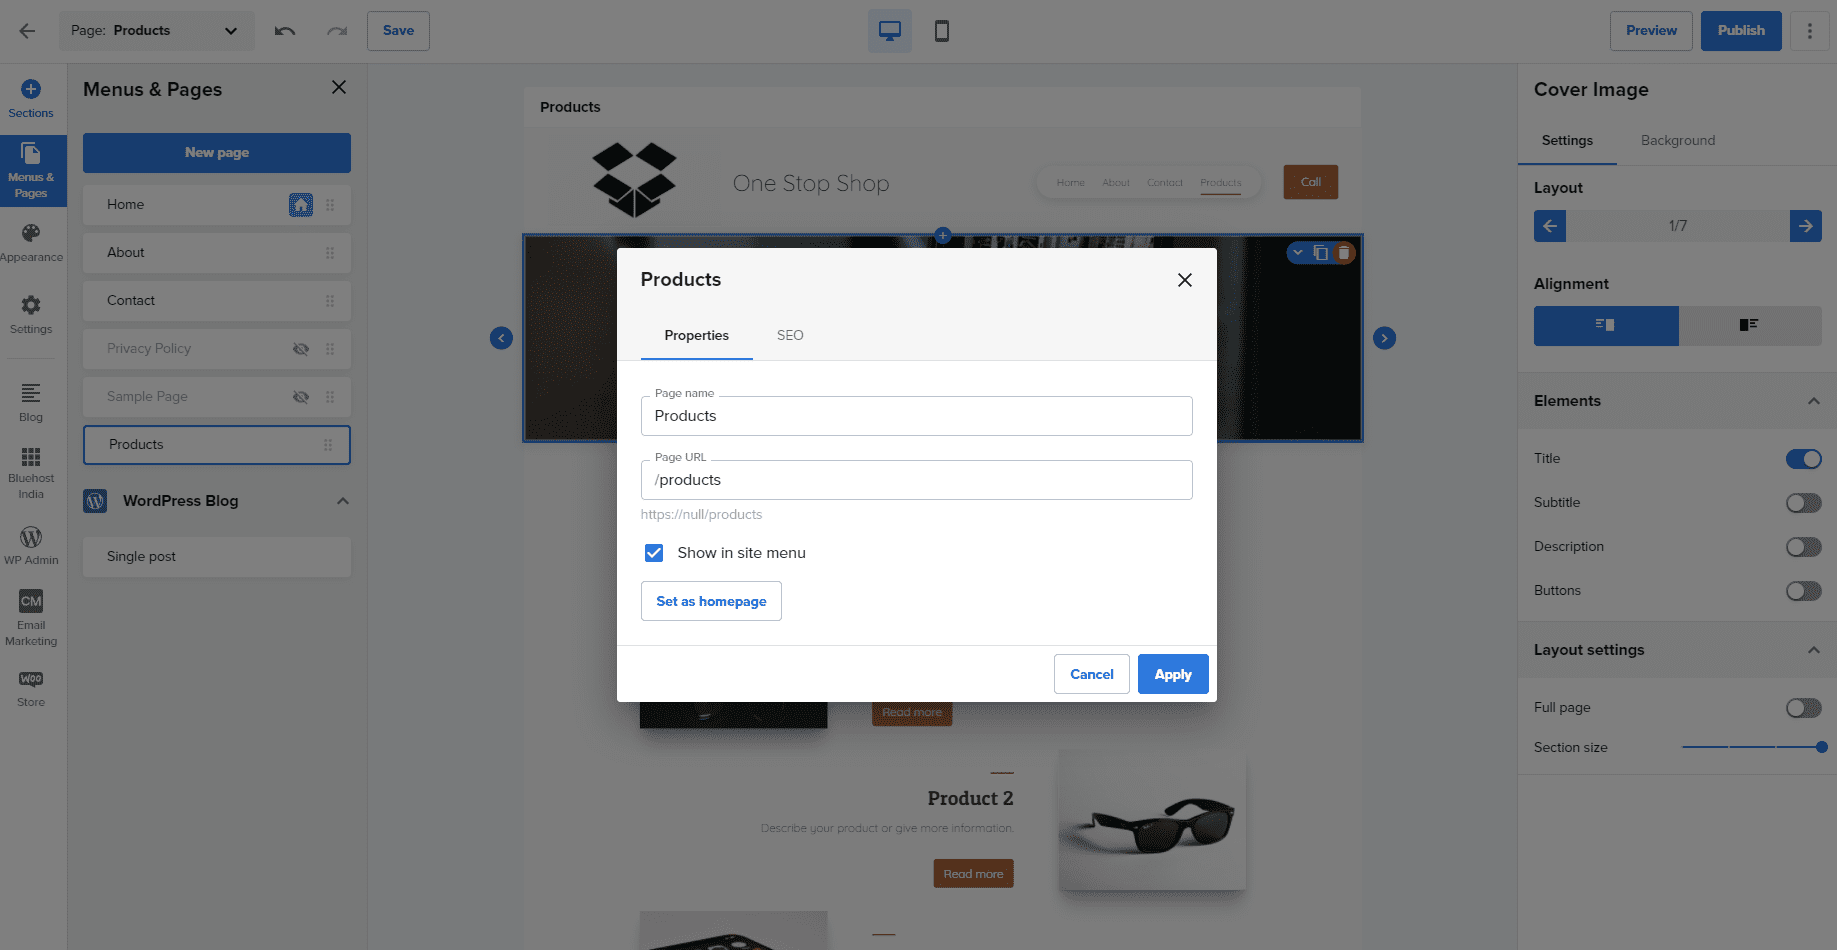
If you want to change the name of your page, go to ’Menus & Pages’ then click on ’Settings’ for the page you want to change the name, the following window opens. Make changes and click on the ’Apply’ button
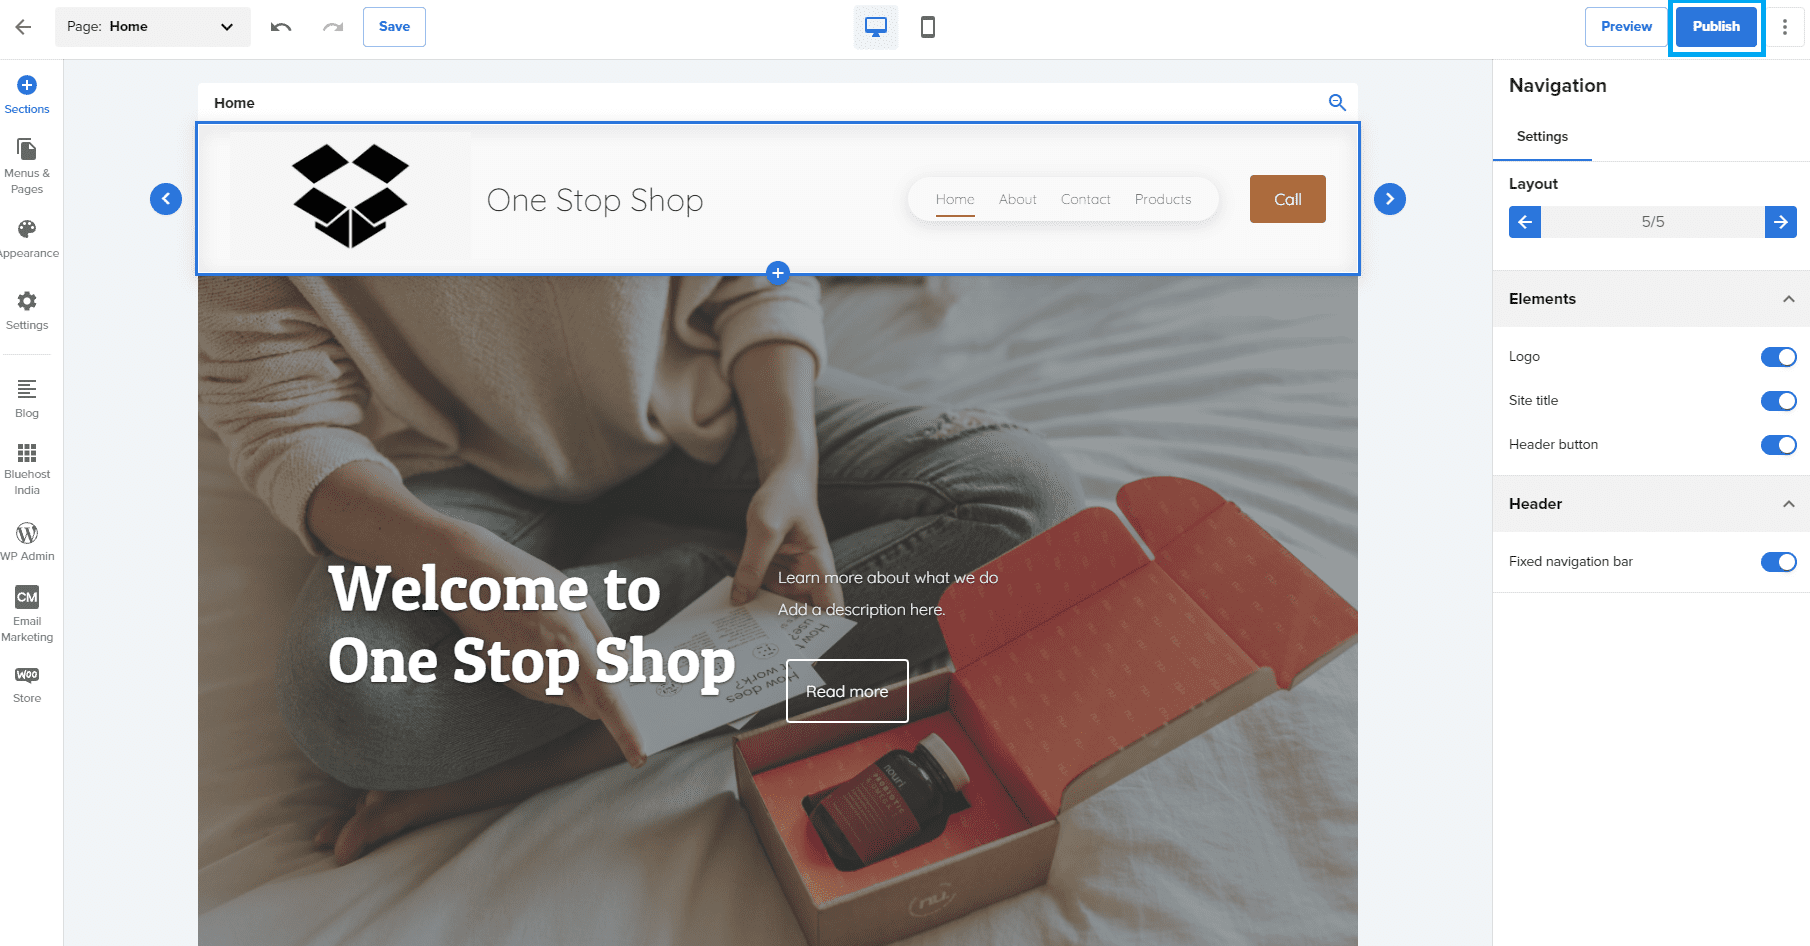 Note: Until you click on ‘Publish’ your website will be in the staging coming soon mode, and a ‘Coming Soon’ page will be automatically displayed to anyone who enters the URL of your website in the address bar.
Additionally, you can add a blog to your e-commerce website, setup email marketing, social media channels, and much more to build your online presence.
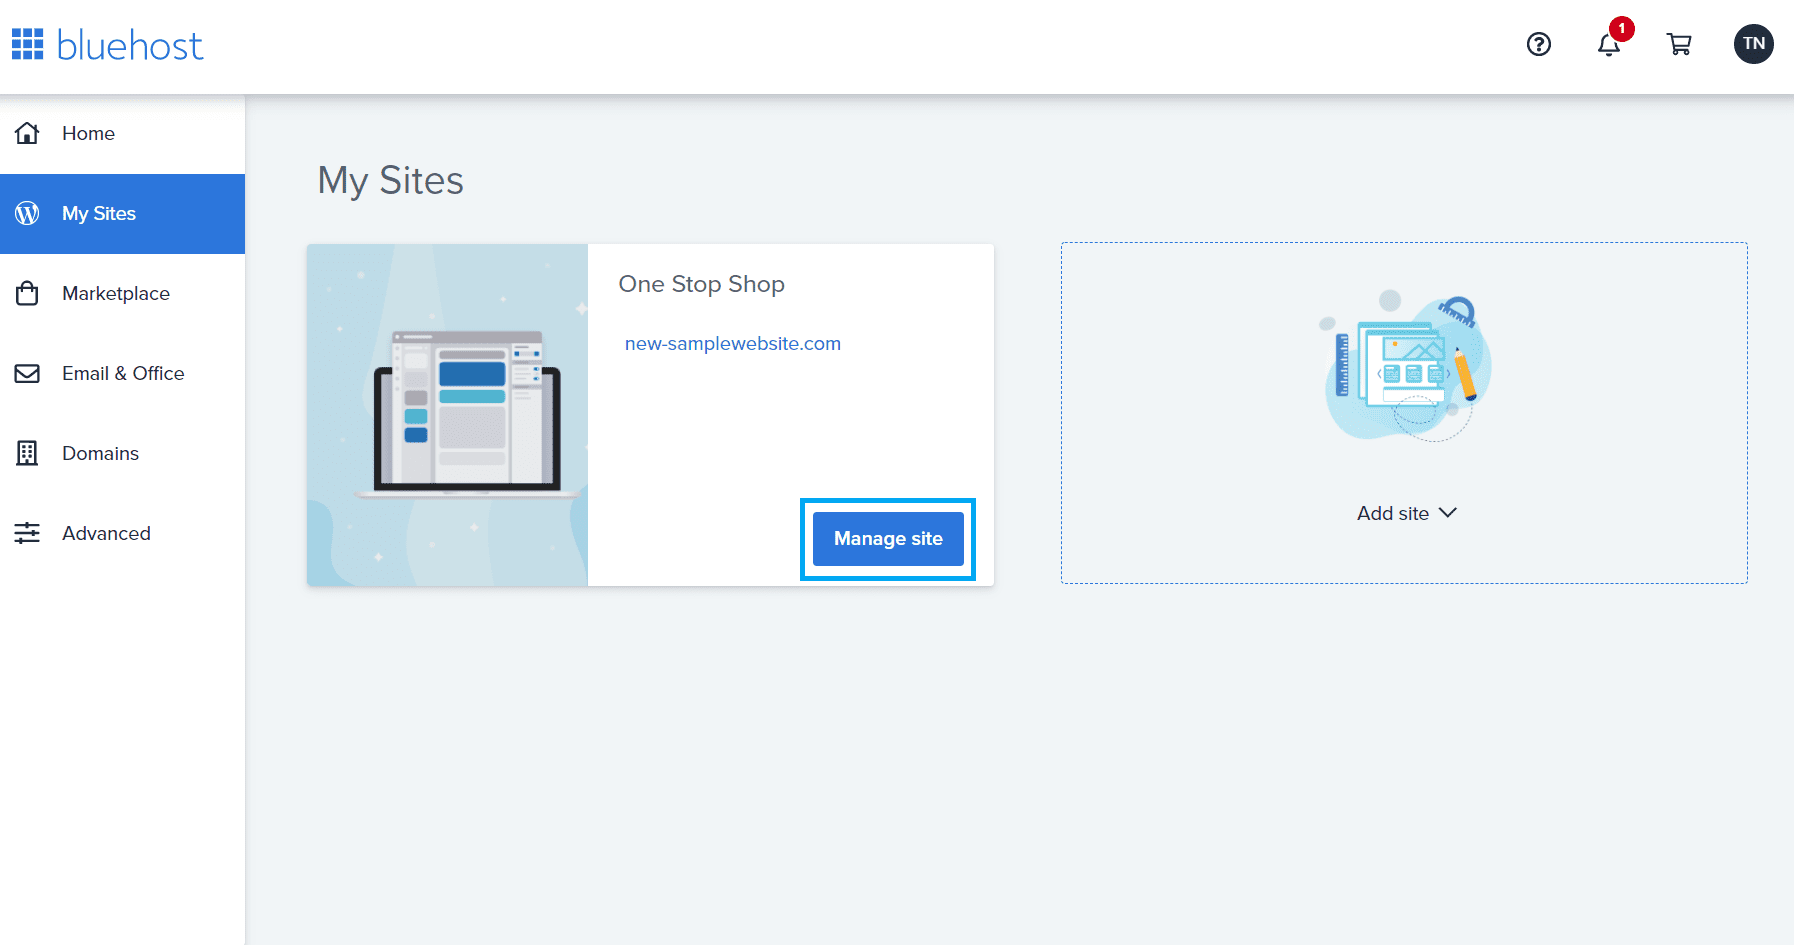
Step 9: If you want to manage your website. Log in to the Bluehost dashboard and go to the ‘My Sites’ tab on the left-hand sidebar and click on ‘Manage site’

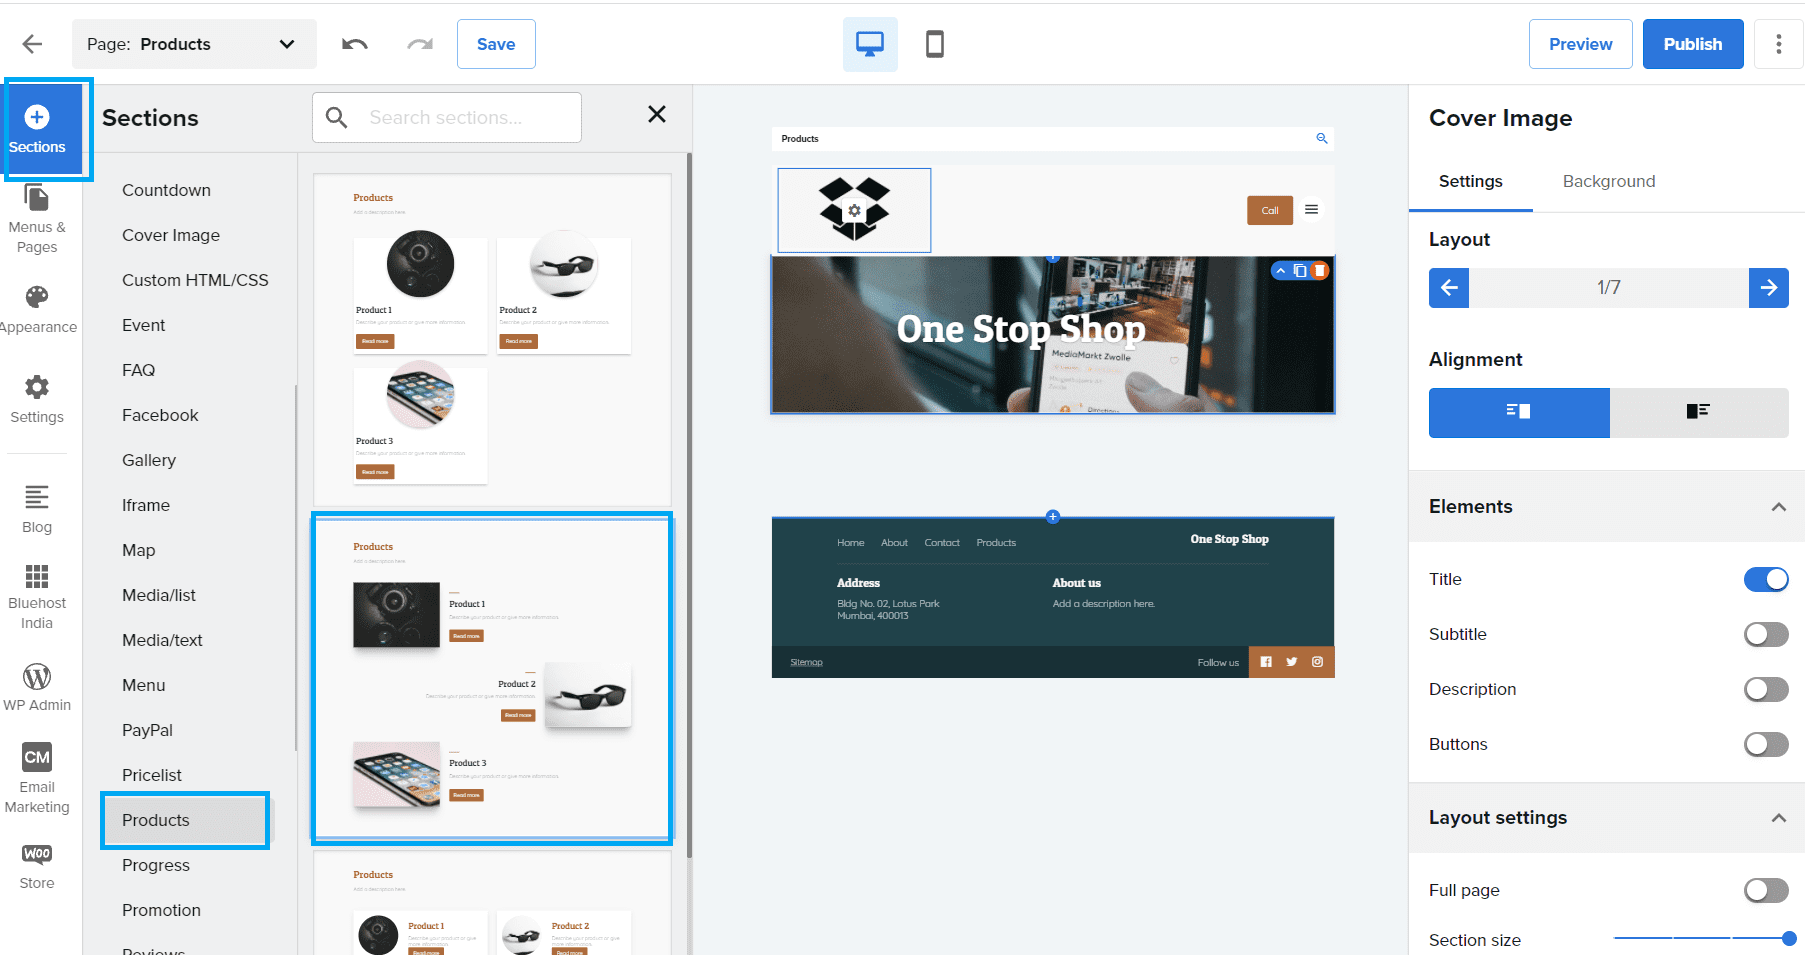 Drag and drop the design of the product placement of your choice and edit the ‘Elements’ section on the right-hand sidebar according to your preference
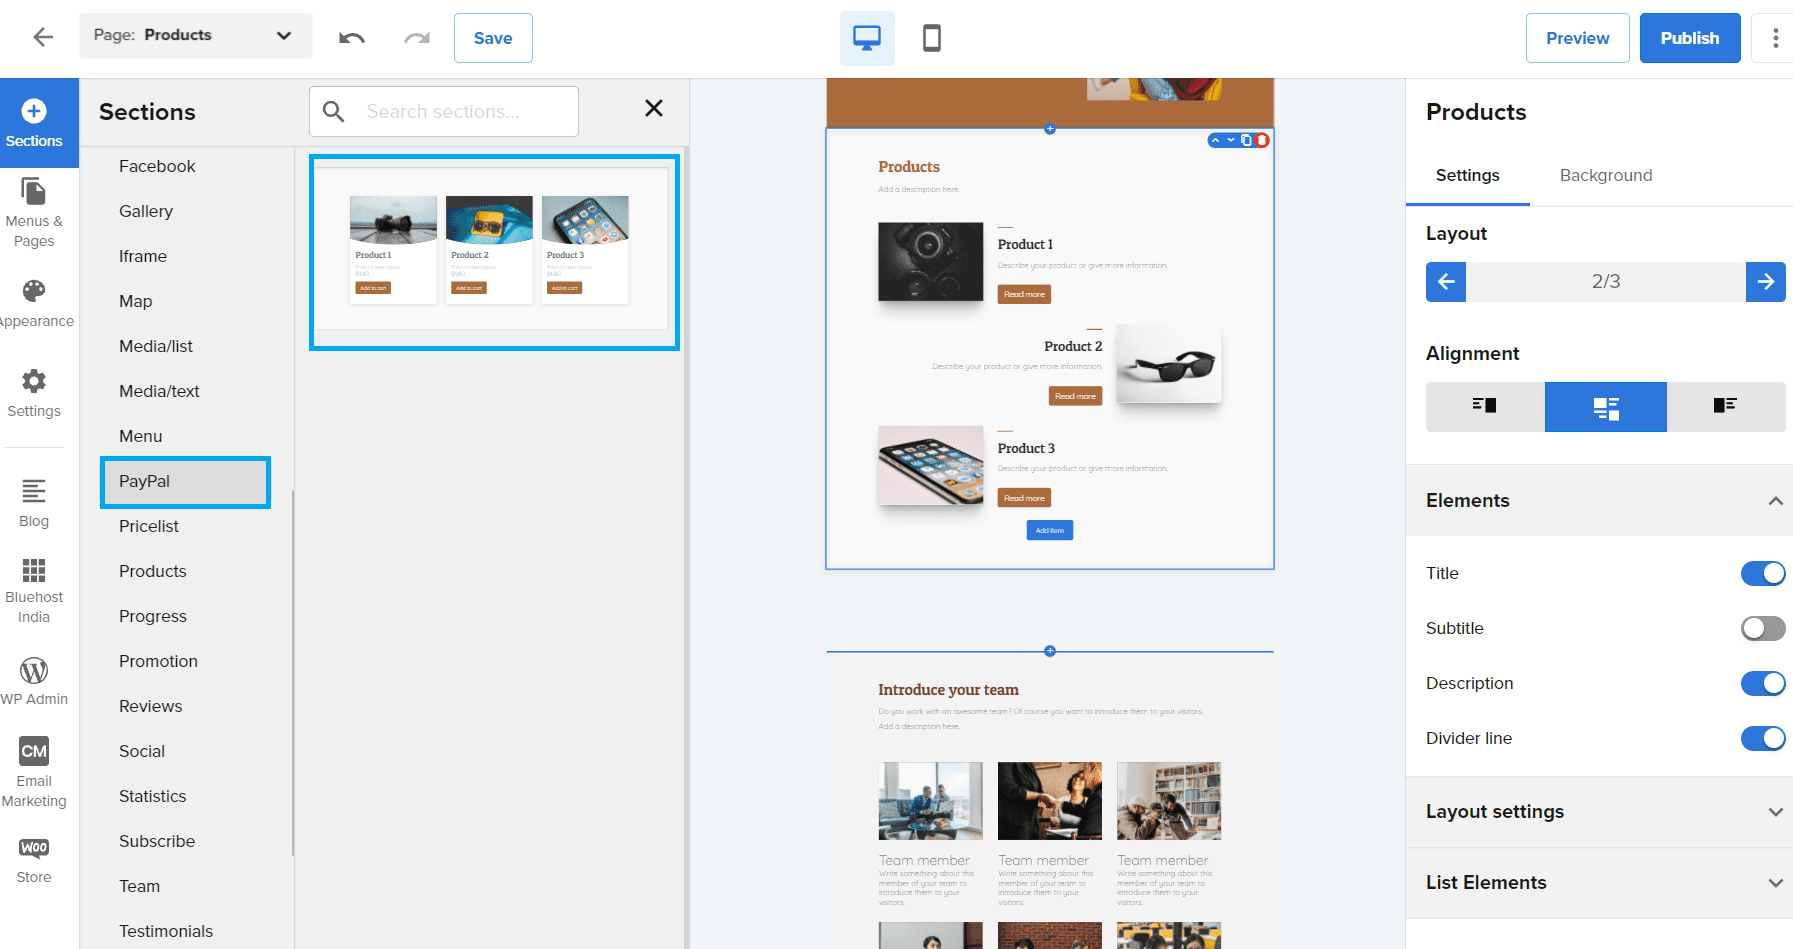 Drag and drop the design of the product placement and edit the ‘PayPal’ section on the right-hand sidebar according to your preference


Write A Comment