If you’re an online business owner, then your e-commerce website is your primary source of income. Running an online business is tough, unlike an offline brick and mortar store you can’t interact with your customers as soon as they step inside your store, nor can you guide them in person to their preferred products. Nevertheless, there are ways to interact with your customers and promote your products with ease by understanding your customer’s journey and flow on your website. By tracking their movements, where they click or how much time they spend on a particular product page, you can understand and cater to your customers better, in turn, boost your conversion rates.
If you’re new and yet to set up your e-commerce website, there are two ways to create a WordPress powered e-commerce website viz. using a simple drag-and-drop e-commerce website builder or through the traditional web hosting, however, for added functionality, you can choose WooCommerce Hosting. We at Bluehost offer both these website creation options, and you can choose the one that best suits your needs. After you’ve created your e-commerce website you can now set up analytics to track and monitor your visitor’s activity on your website.
Google Analytics is one of the most popular website tracking and analytics tool. In this article, we’ll help you get started with Google Analytics and guide you in setting up e-commerce tracking.
Setting up Your Google Analytics for Your Website
One of the simplest ways of setting up Google Analytics is to install a plugin and enter your Google Analytics account details to set up tracking.
Step 1: Setting up Google Analytics Account
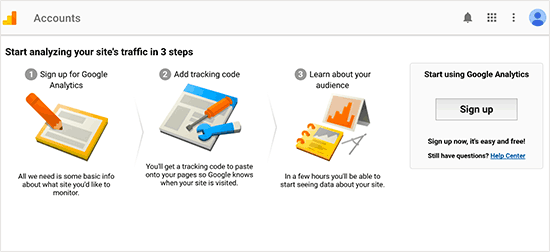
- Create a Google account, and sign up with Google Analytics

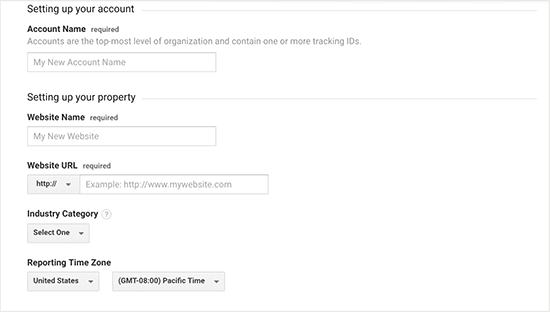
- Next, Google will prompt, ‘if you want to sign up for your mobile app or website’. Since we want to measure the traffic on our e-commerce website, we will click the ‘Website’ option

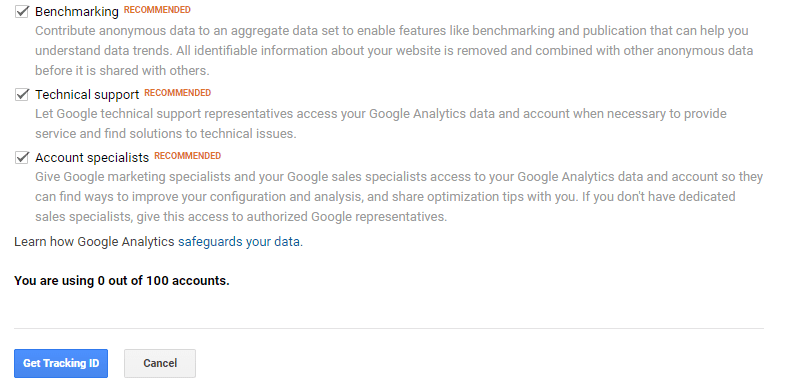
- Scroll down the page and select relevant checkboxes. Next, click on the ‘Get Tracking ID’ button

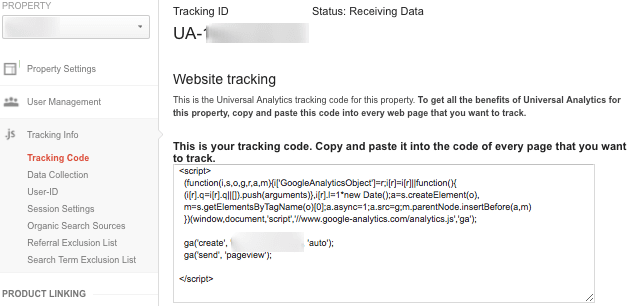
- You’ll now to be redirected to a new page where you can access your ‘Tracking ID’. This tracking ID needs to be inserted into your website code so that you can track your website visitors and their activity on your website page
 Note: The tracking ID is blurred in the image for privacy concerns.
- The next step is to select a plugin of your choice, install, and activate it. Once you’ve installed the Google Analytics plugin of your choice, your WordPress backend will have a new item labelled ‘Insights’. Click on it and go to ‘Settings’. Here click on the button ‘Authenticate with your Google account’. You’ve successfully connected your website to the Google Analytics account
- After your plugin accesses your Google Analytics data, select the profile you want to track. Select your ‘Website’ and click on ‘Continue’
Step 2: Tracking Data from Google Analytics Account
After you’ve successfully set up e-commerce tracking, Google Analytics will now track the data of your website visitors on a real-time basis. Google Analytics allows you to track your website visitors in four ways viz. Destination, Duration, Pages per session, and Events.
To see the reports generated, follow these steps:
- Log in to your Google Analytics account
- Navigate to the view where you have added a tracking code
- On the left-side panel, click on ‘Reporting’
- Select Real-Time > Overview or Real-Time > Behavior, to find reports generated in real time
For non-real-time reports, you need to wait for 24-48 hours for them to be generated. You can then click on the respective reports you want to view and analyze.
Set Up E-commerce Tracking and Boost Conversions
Google Analytics is an extremely valuable tool for online businesses and marketers. It gives you insights into your website visitors – how they act and behave when they are on your website, and in turn, you can use this knowledge to cater to their needs and convert them into customers.
We hope this Google Analytics guide helped you understand what Google Analytics is, and how to set up e-commerce tracking for your online store’s website. So, what are you waiting for? Design the online store of your dreams and start tracking your visitor’s activity today!
In case you have any design-related queries, you can read about them in our expert-curated guide – The Blueprint. If you have any questions or comments, please feel free to drop them below. For more, visit our Web Hosting Category page.


Write A Comment